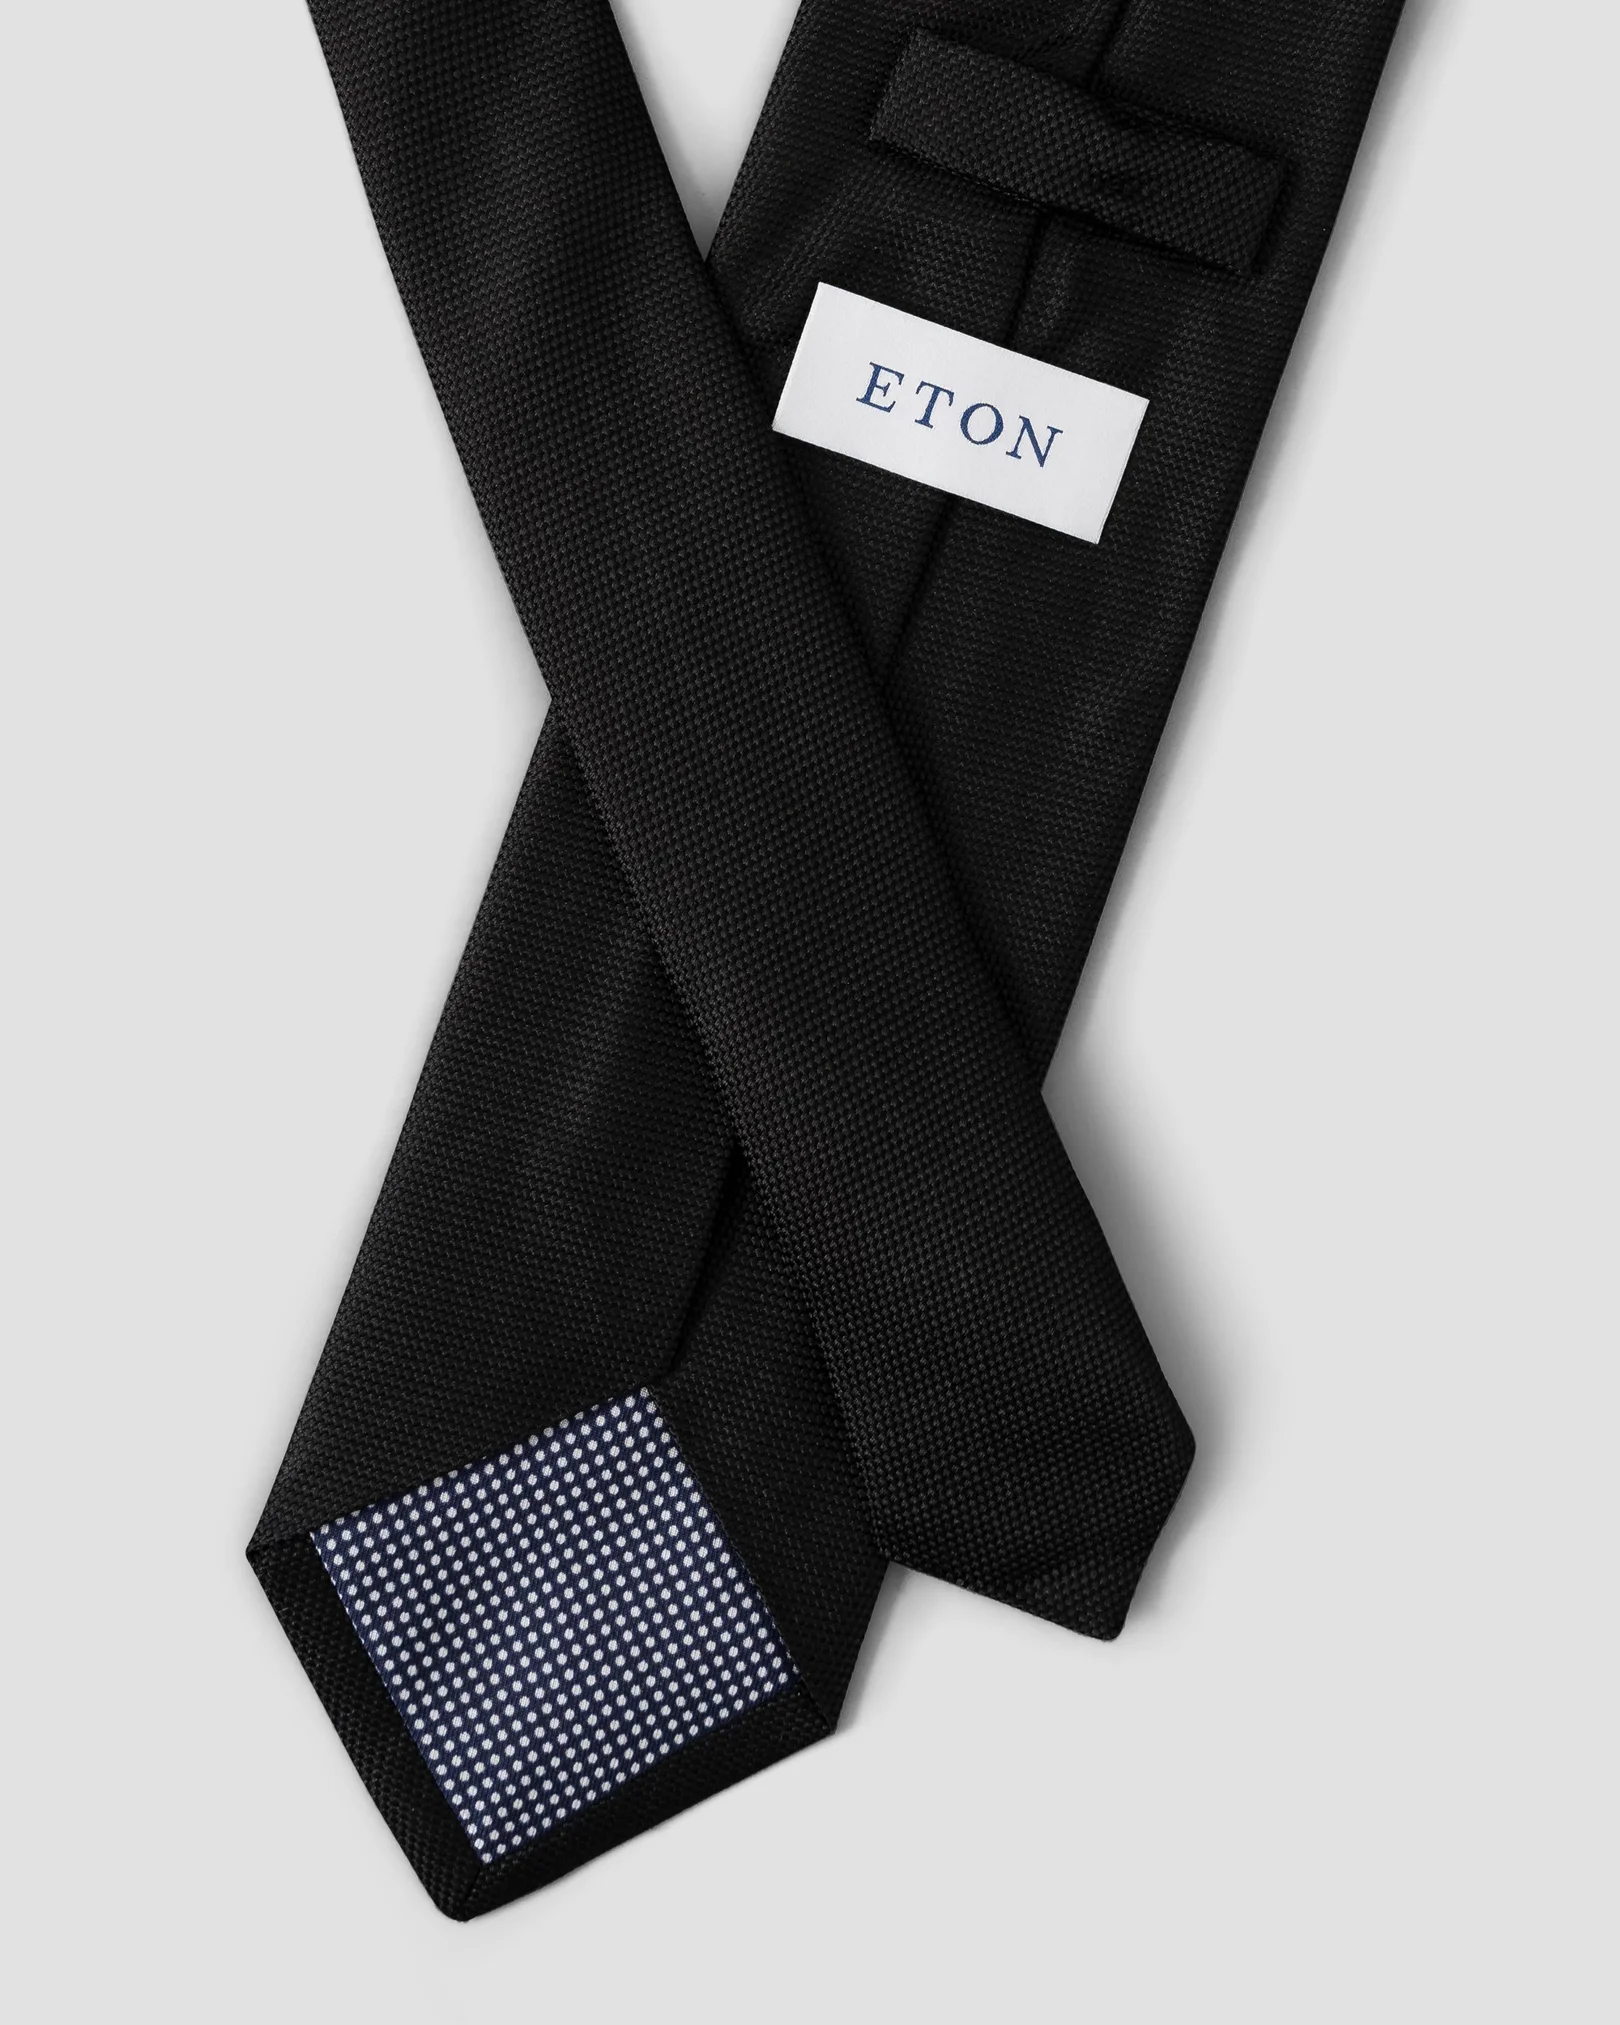
How to Tie a Double Windsor Knot
• 5 min

In the many ways there are to tie a tie, one technique in particular stands out – exclusively used by members of the British Royal Air Force, this is the Double Windsor Knot.
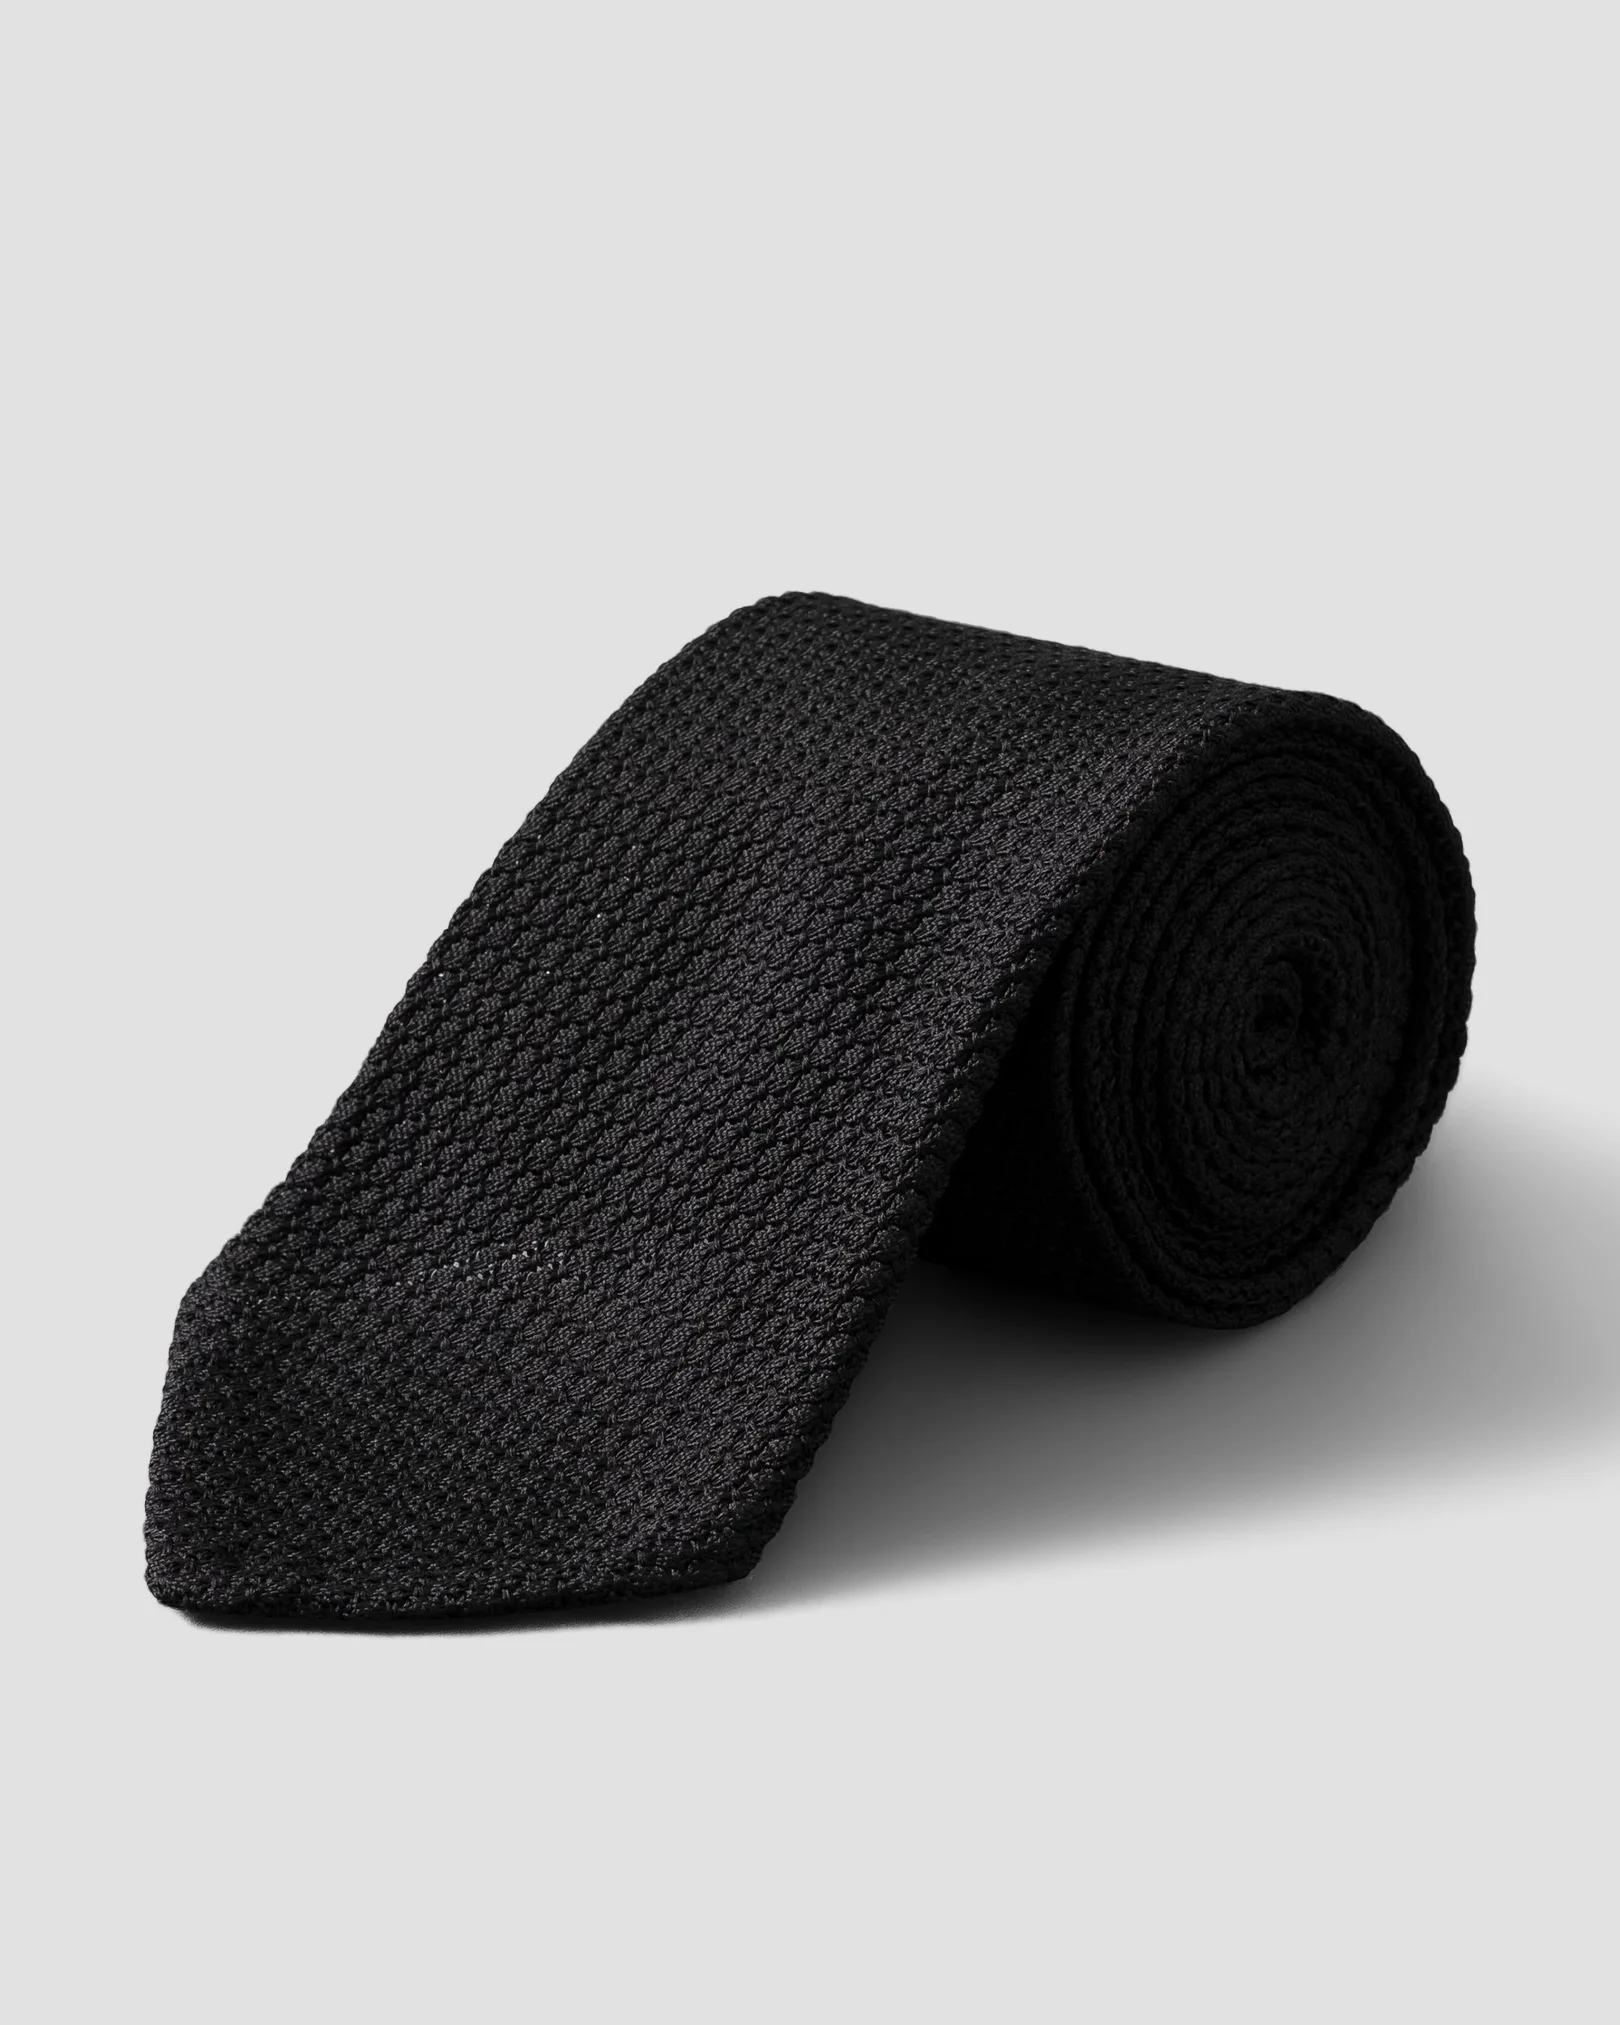
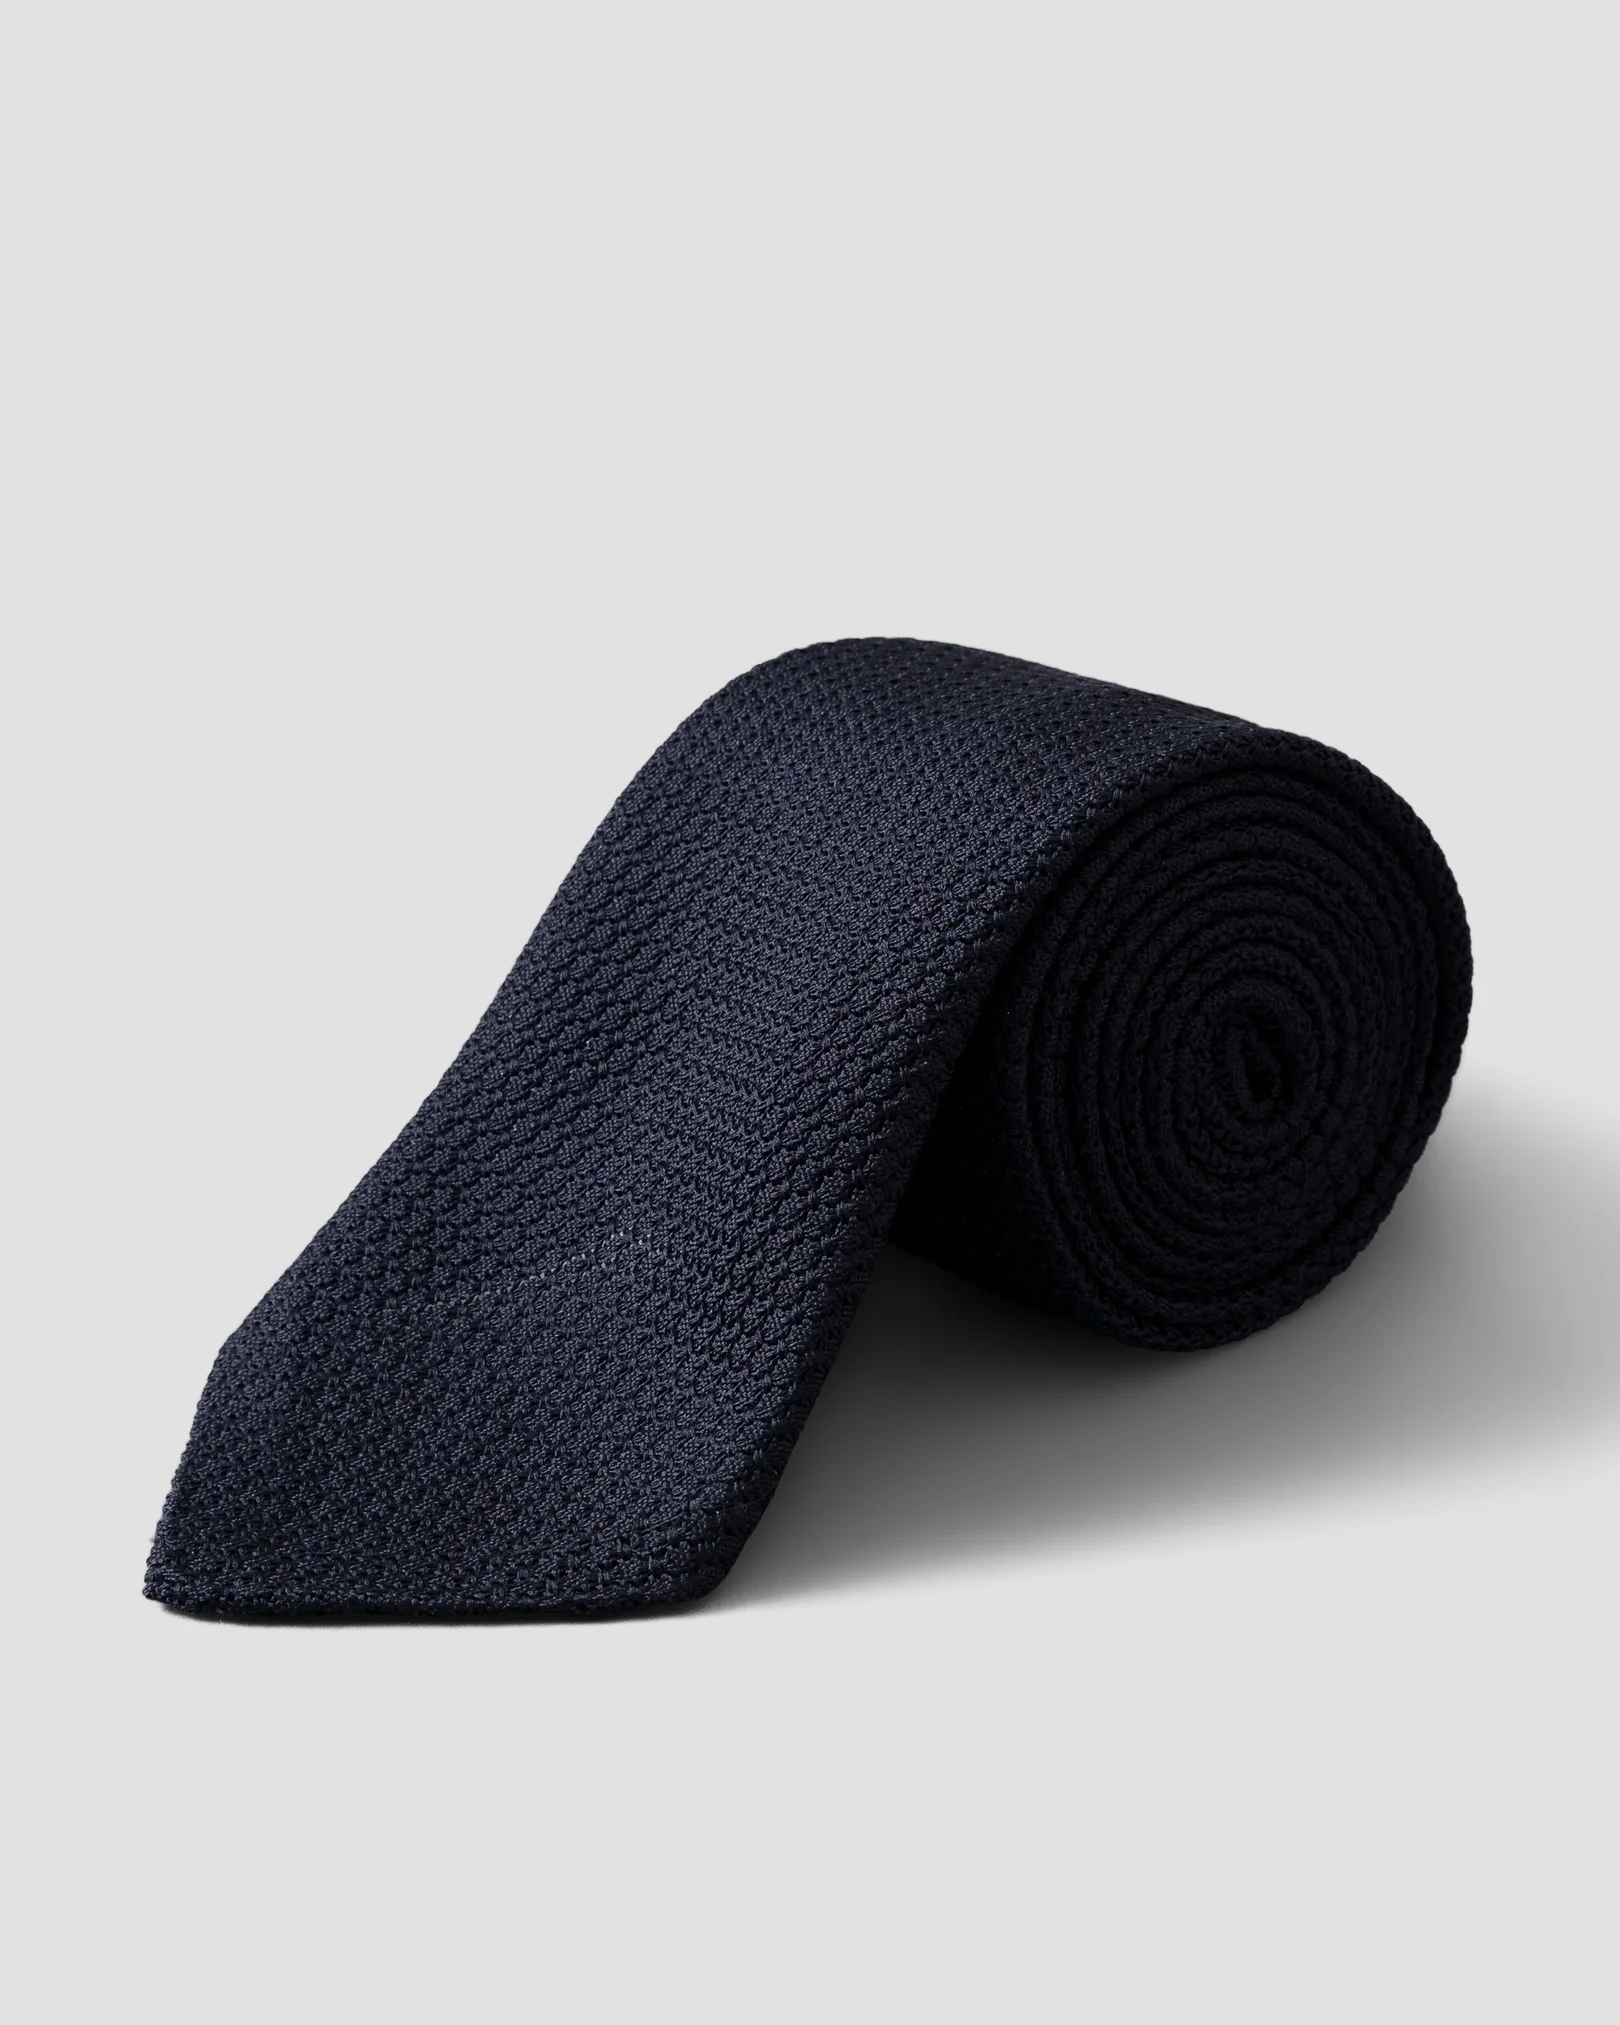
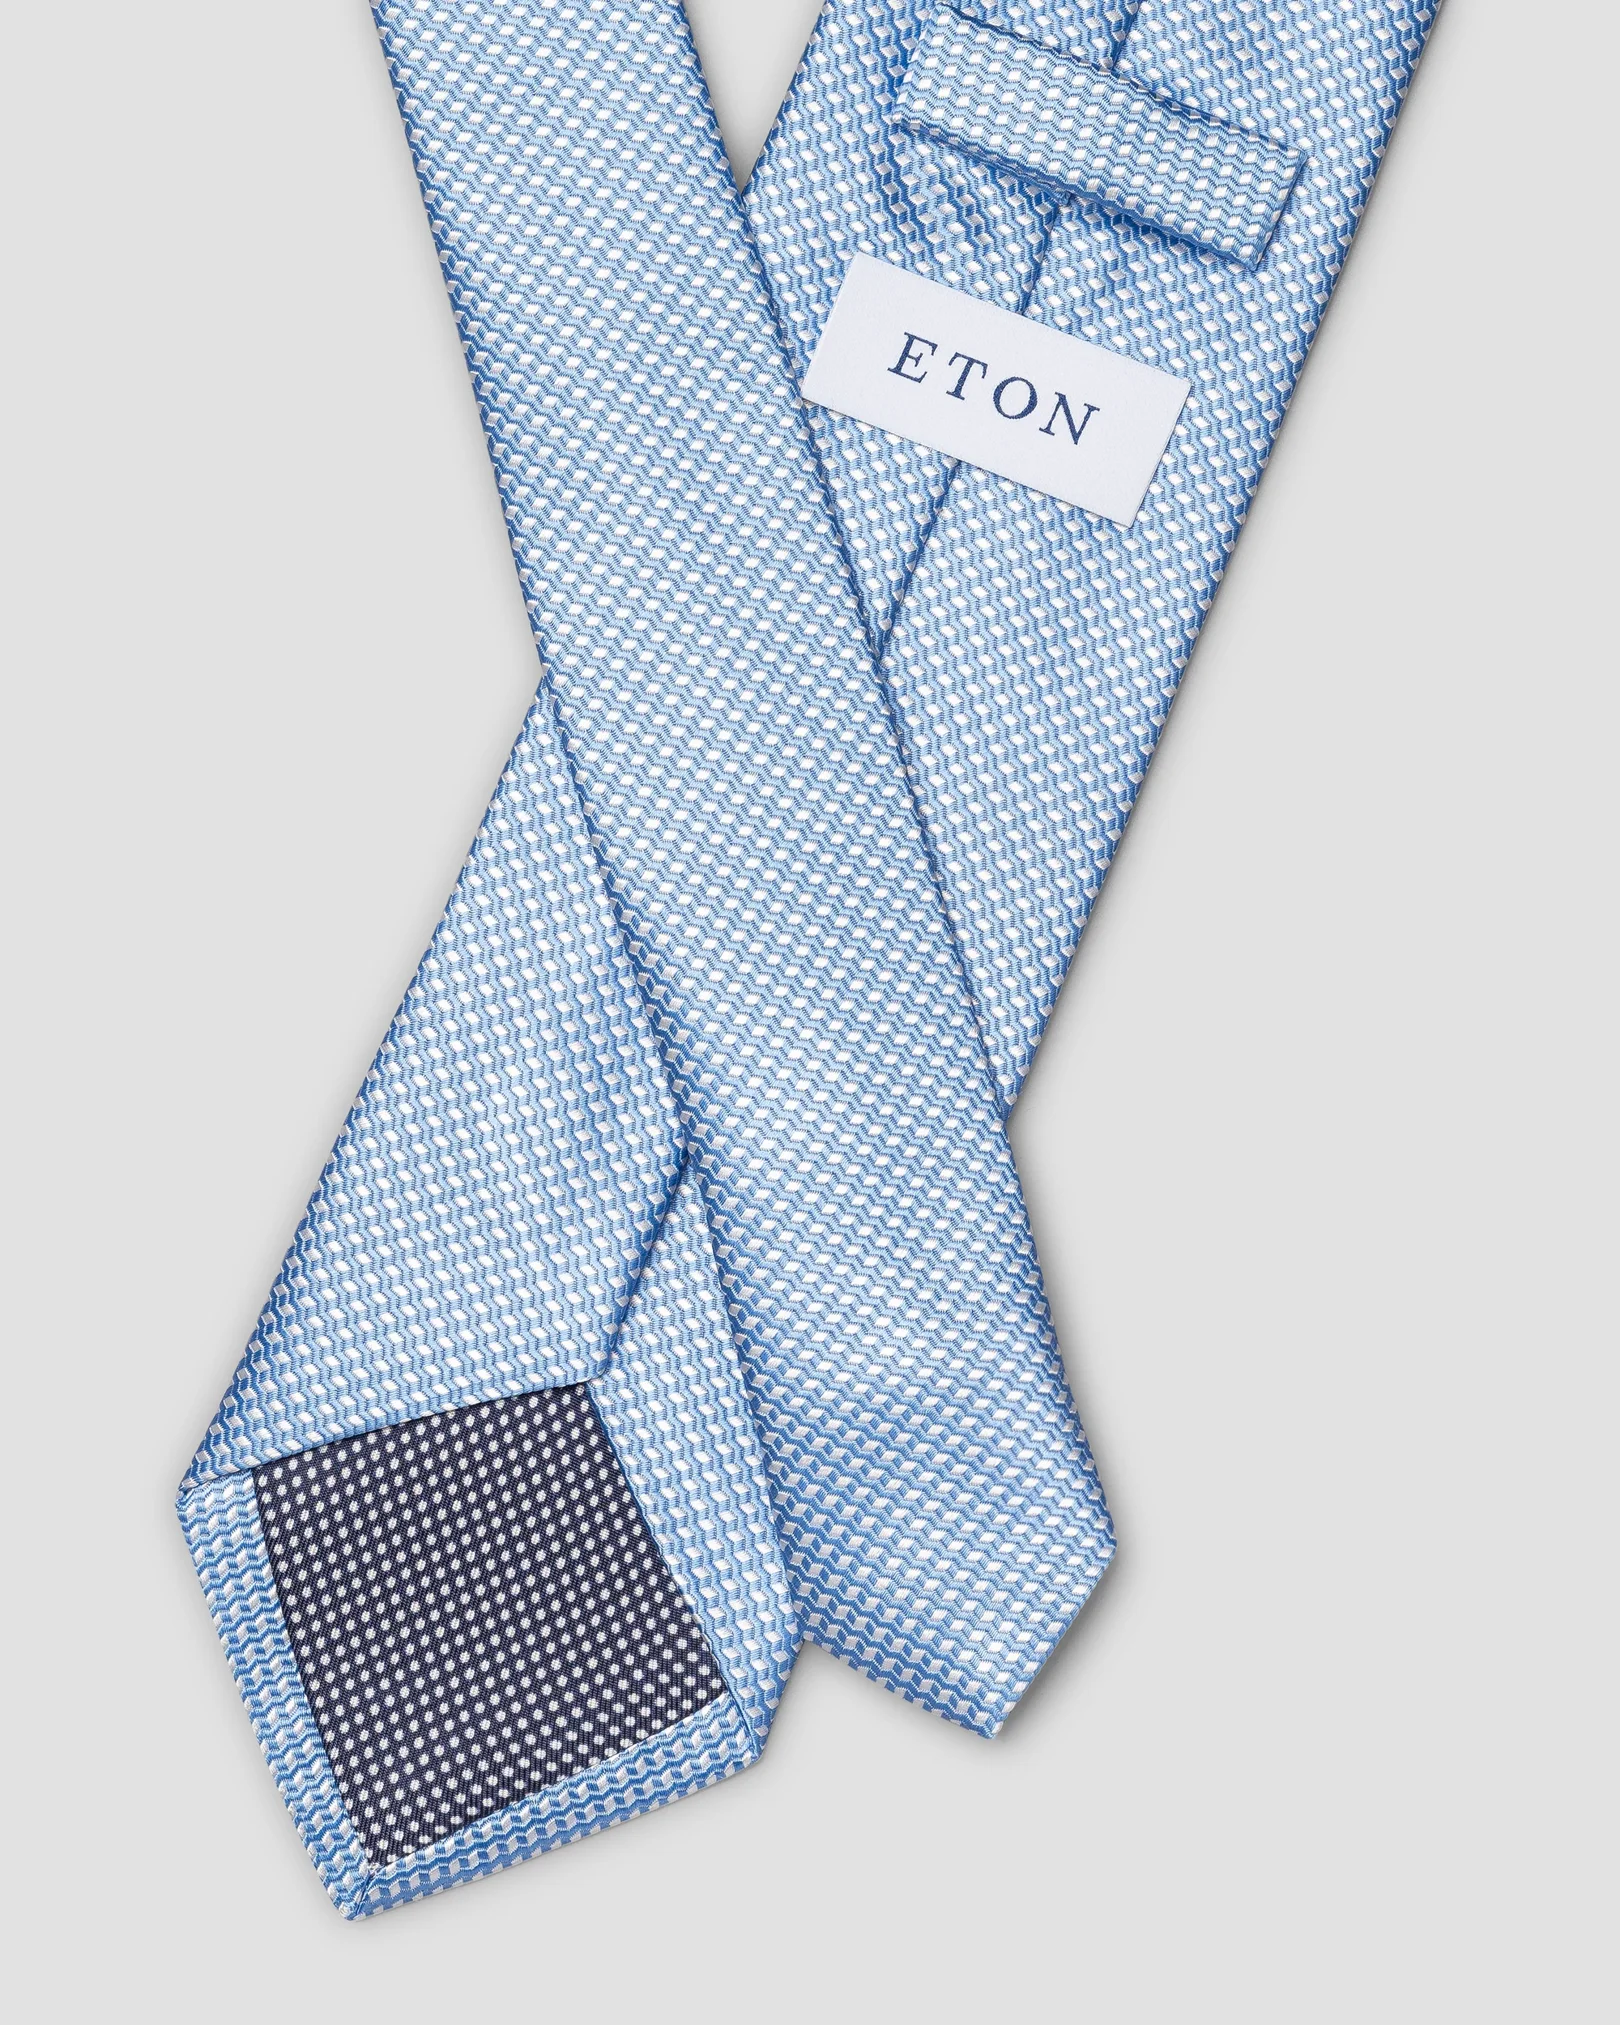
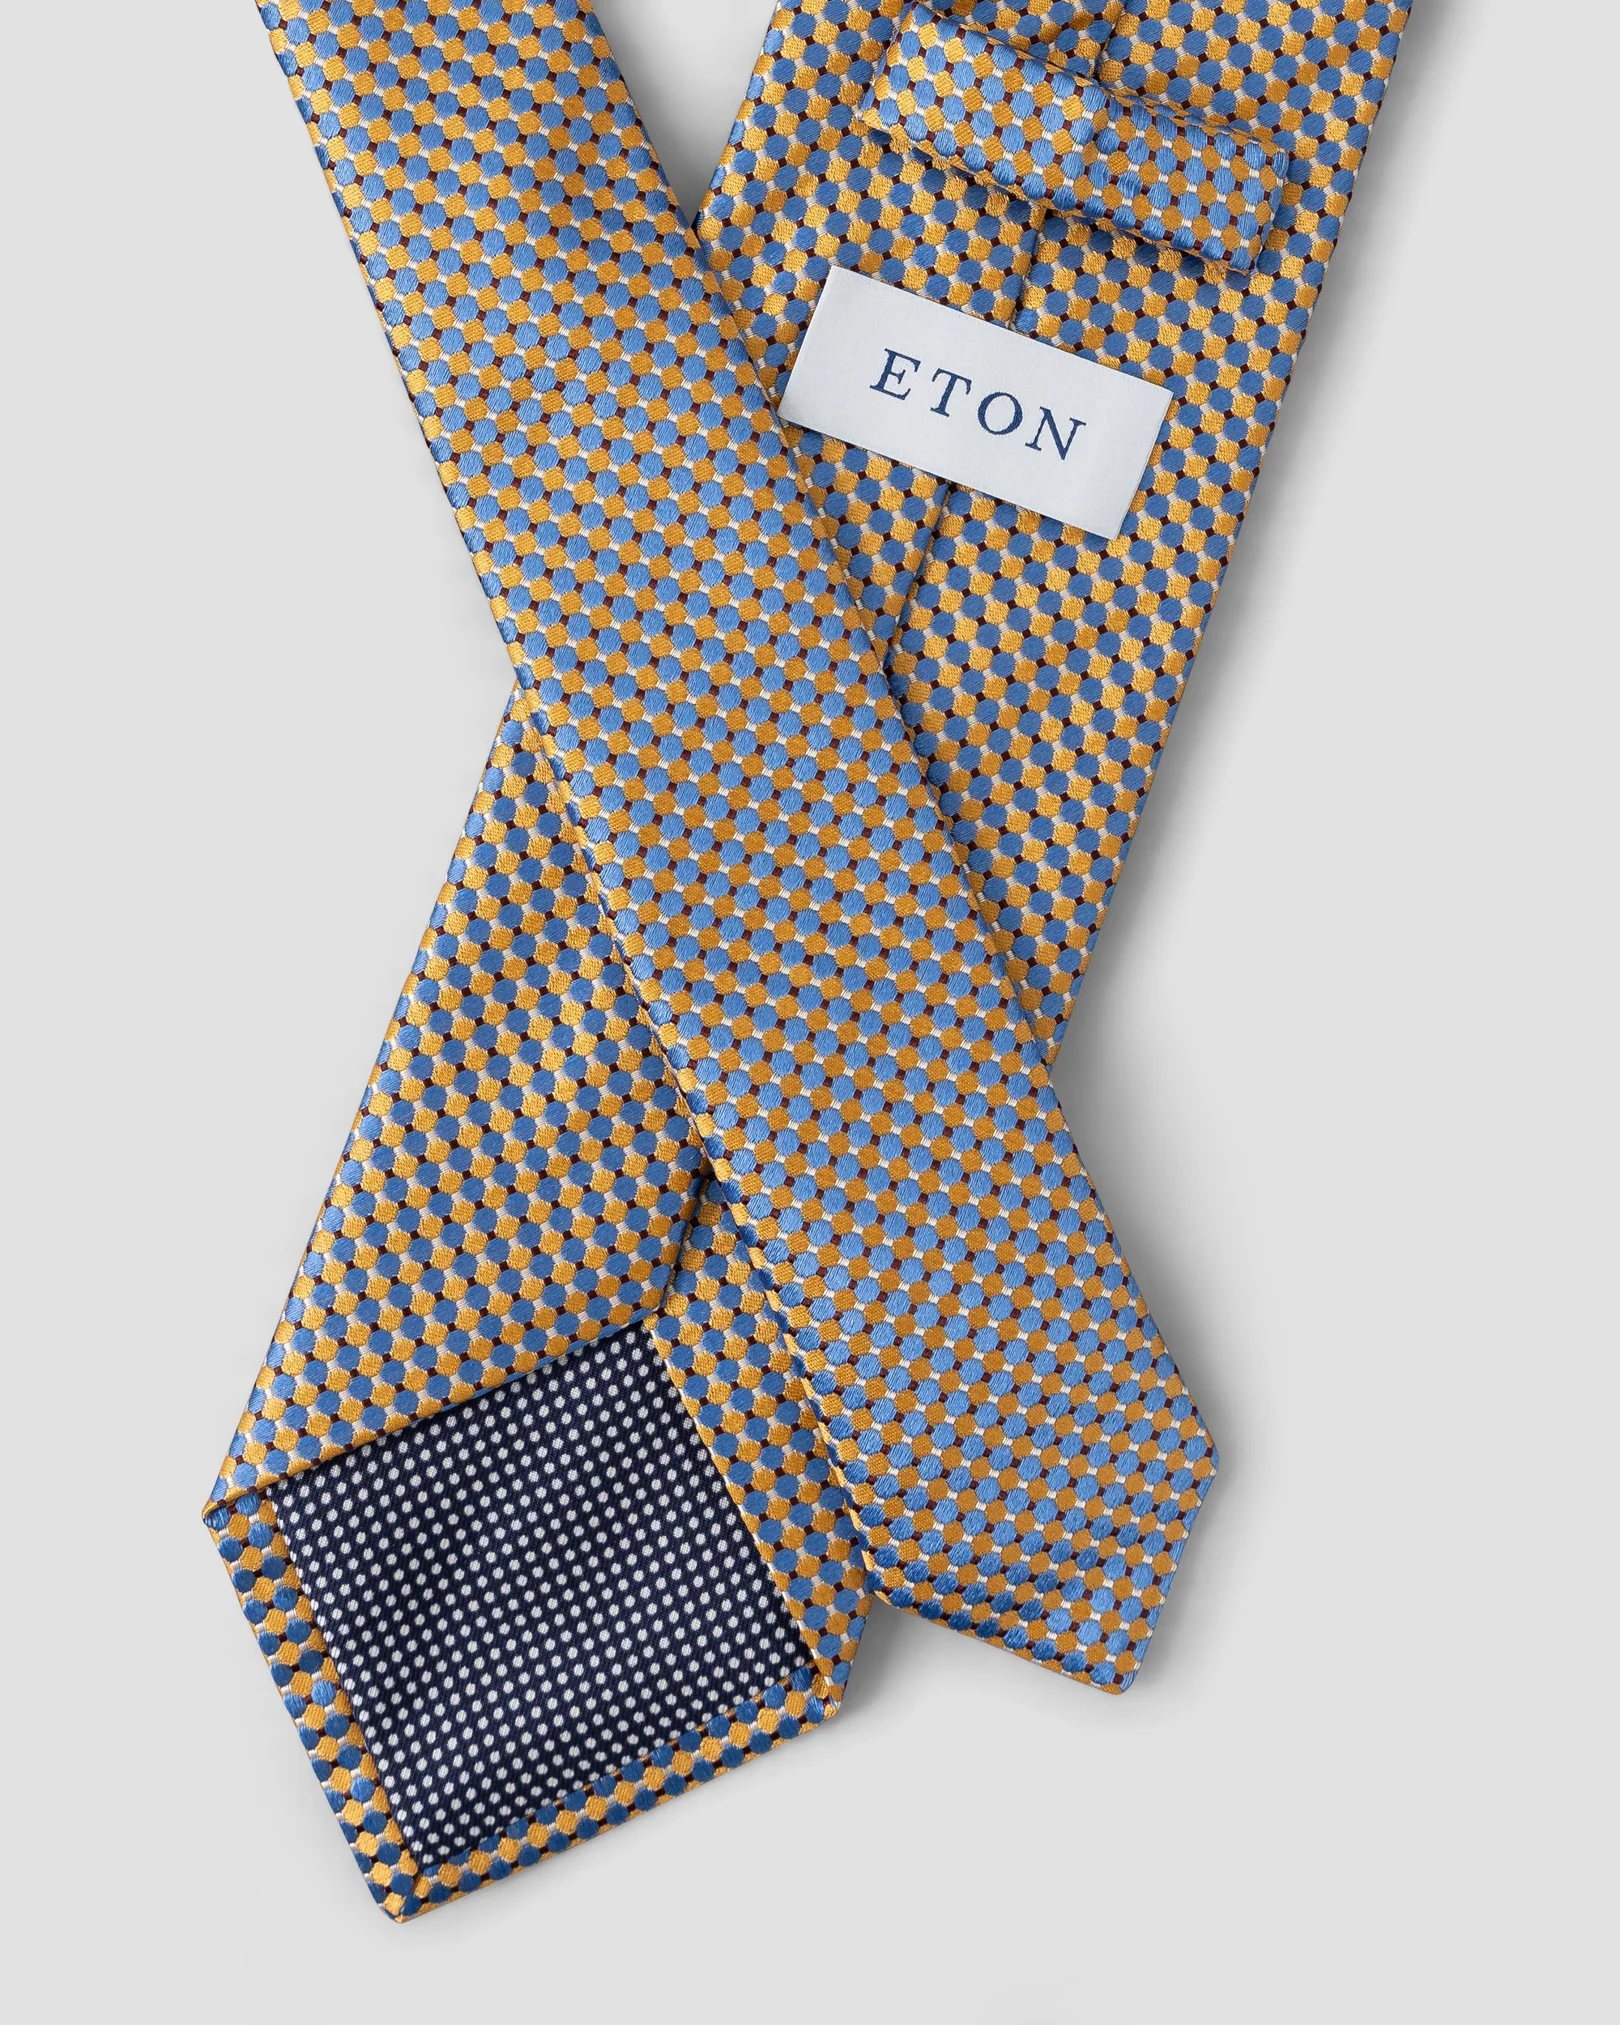
Follow Eton’s step-by-step guide and learn how to easily tie the Double Windsor Knot - sometimes also called a Full Windsor Knot or just simply a Windsor knot. Named after the Duke of Windsor, this iconic tie stepped into the fashion world in the 1930s, when the Duke of Windsor traveled to the United States. Comfortable and elegant, this historical tie is one of the most popular tie knots for men.
 Step 1: Start with the wide end of the tie. The smaller end should extend down toward your belly button, ending some inches above it.
 Step 2: Now cross the wide end over the smaller end.
 Step 3: Take the wind end and bring it up from underneath so that it goes through the neck loop.
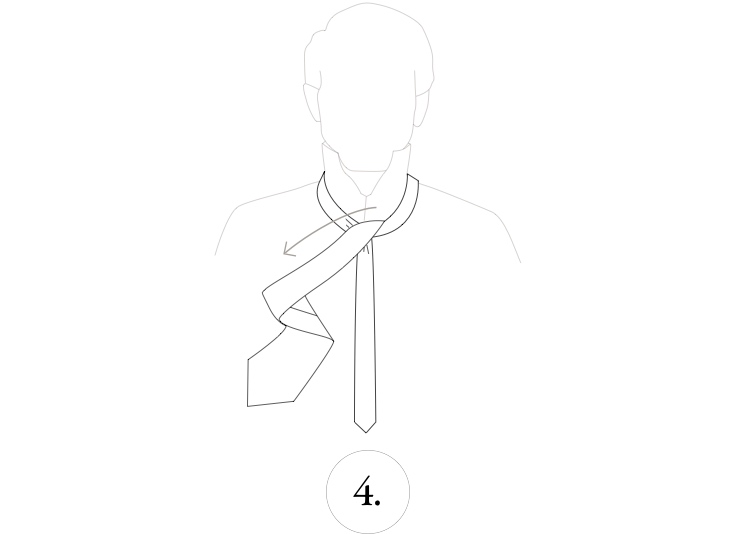 Step 4: Bring the wind end down and then to the left.
 Step 5: Now draw the wide end under the smaller and to the right.
 Step 6: Pull the wide end upward, toward the neck loop.
 Step 7: To tighten it, pull down the wide end.
 Step 8: Then draw the wide end over the smaller end.
 Step 9: Pull the wide end up through the neck loop.
 Step 10: Tuck the wide end through the tie’s knot.
 Step 11: Finally, tighten the knot to your liking.