How to Tie a Bow Tie Easily
• 5 min

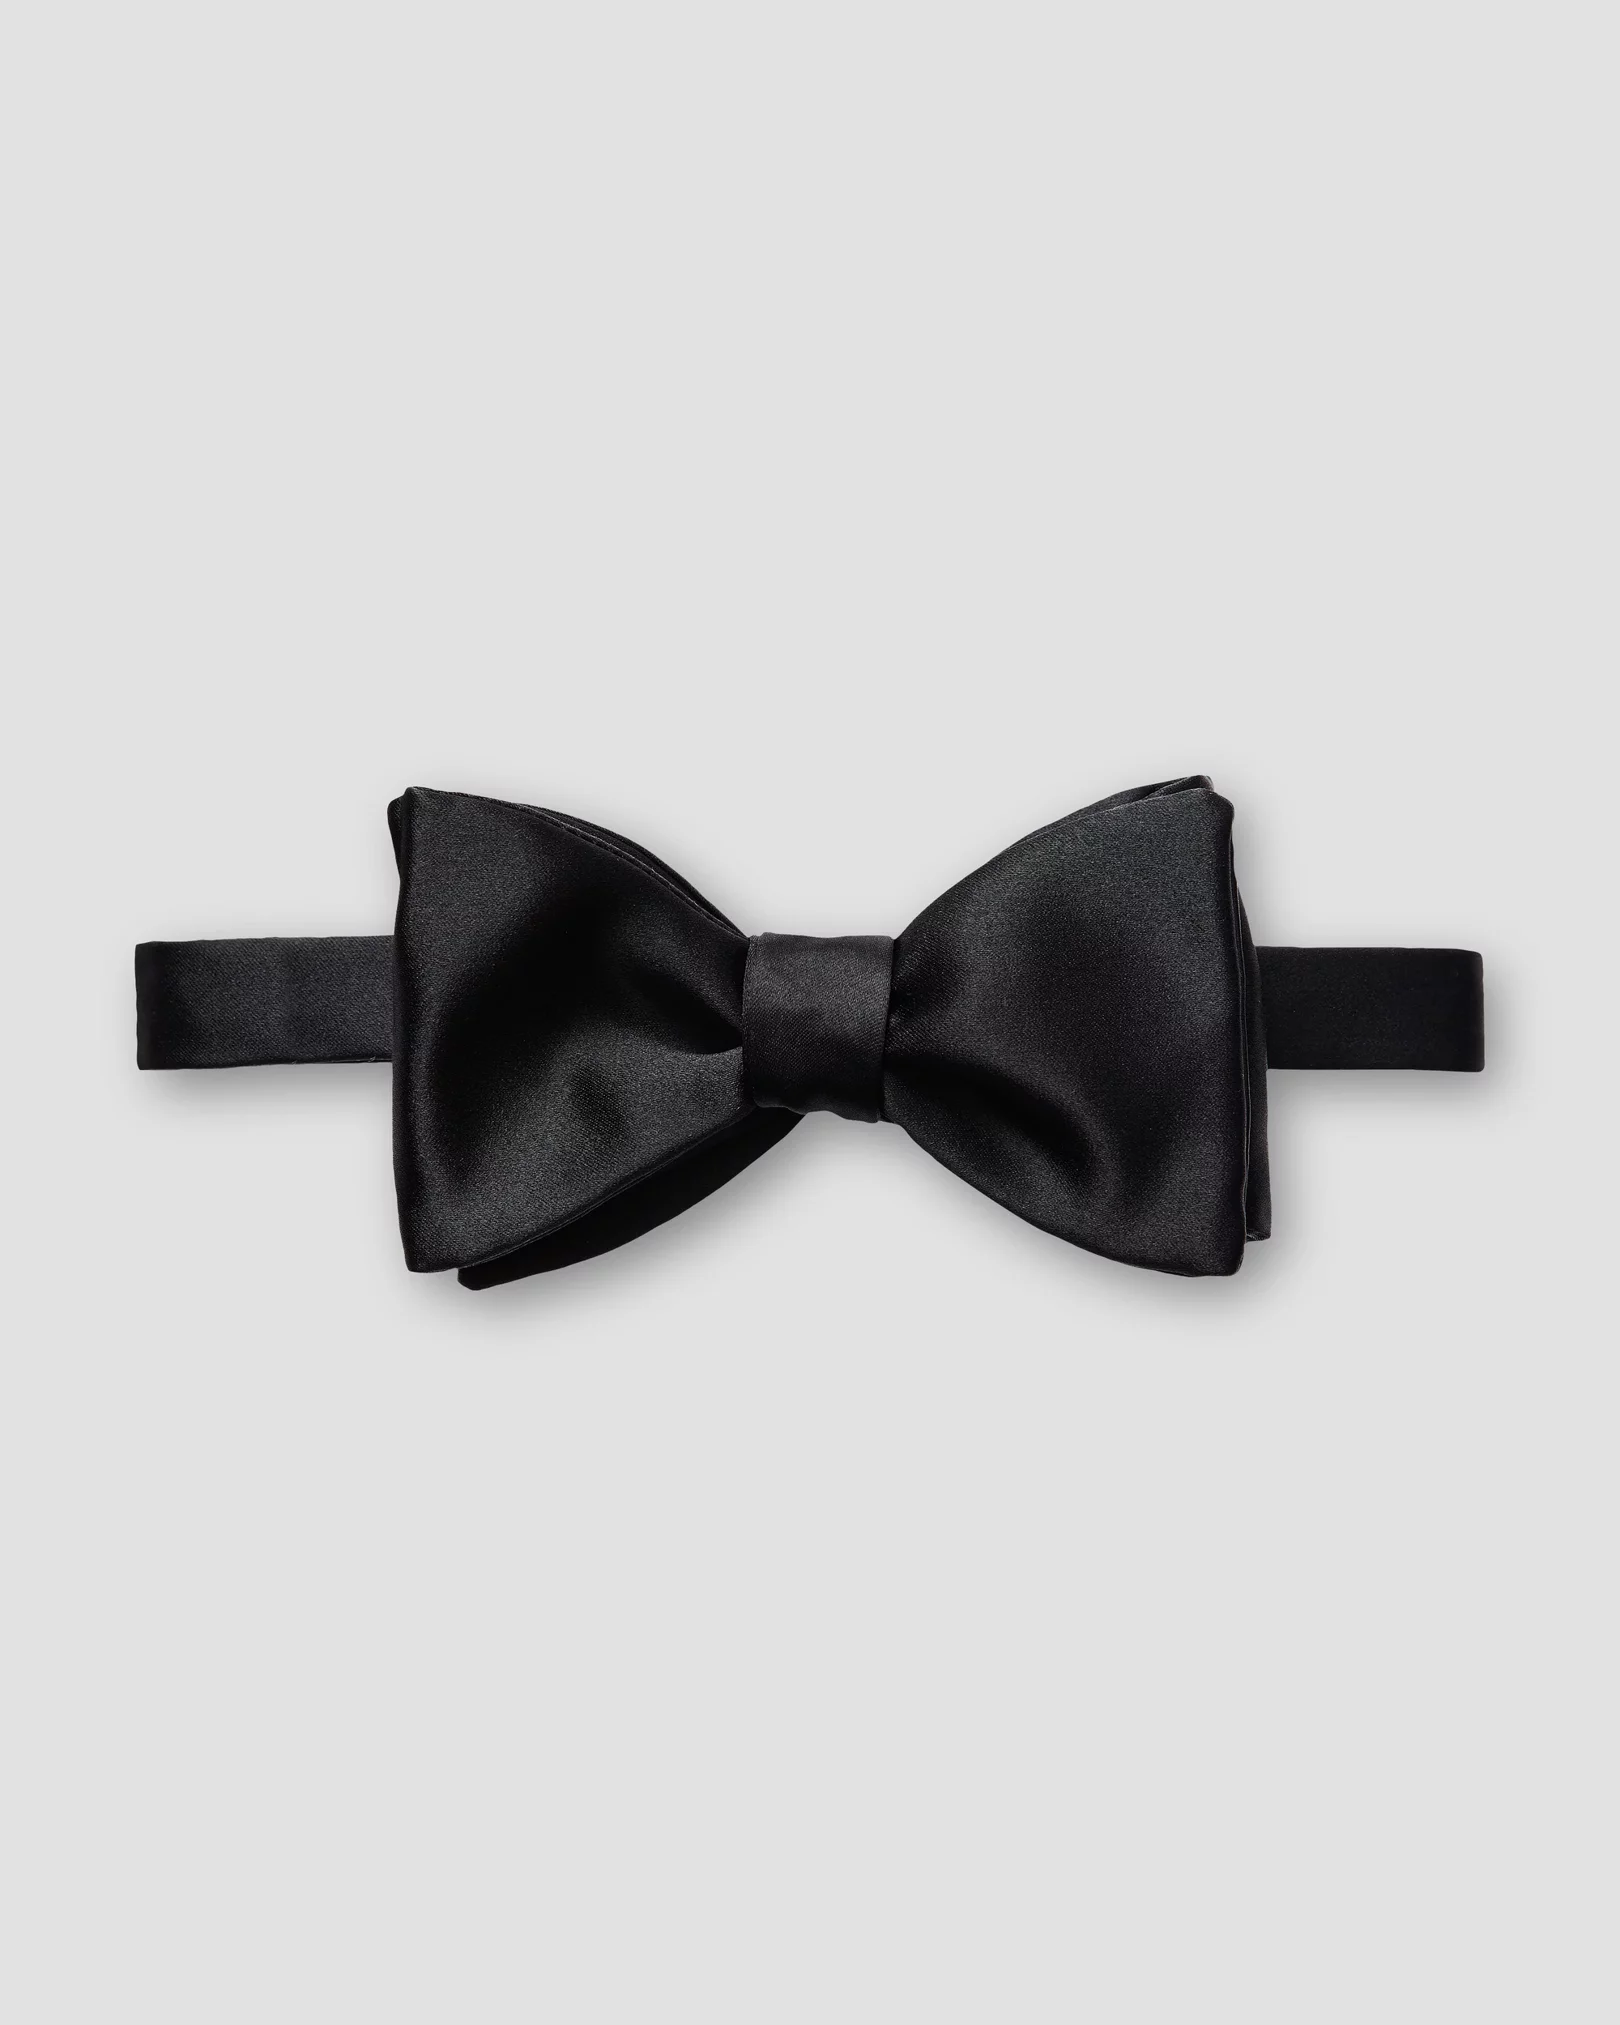
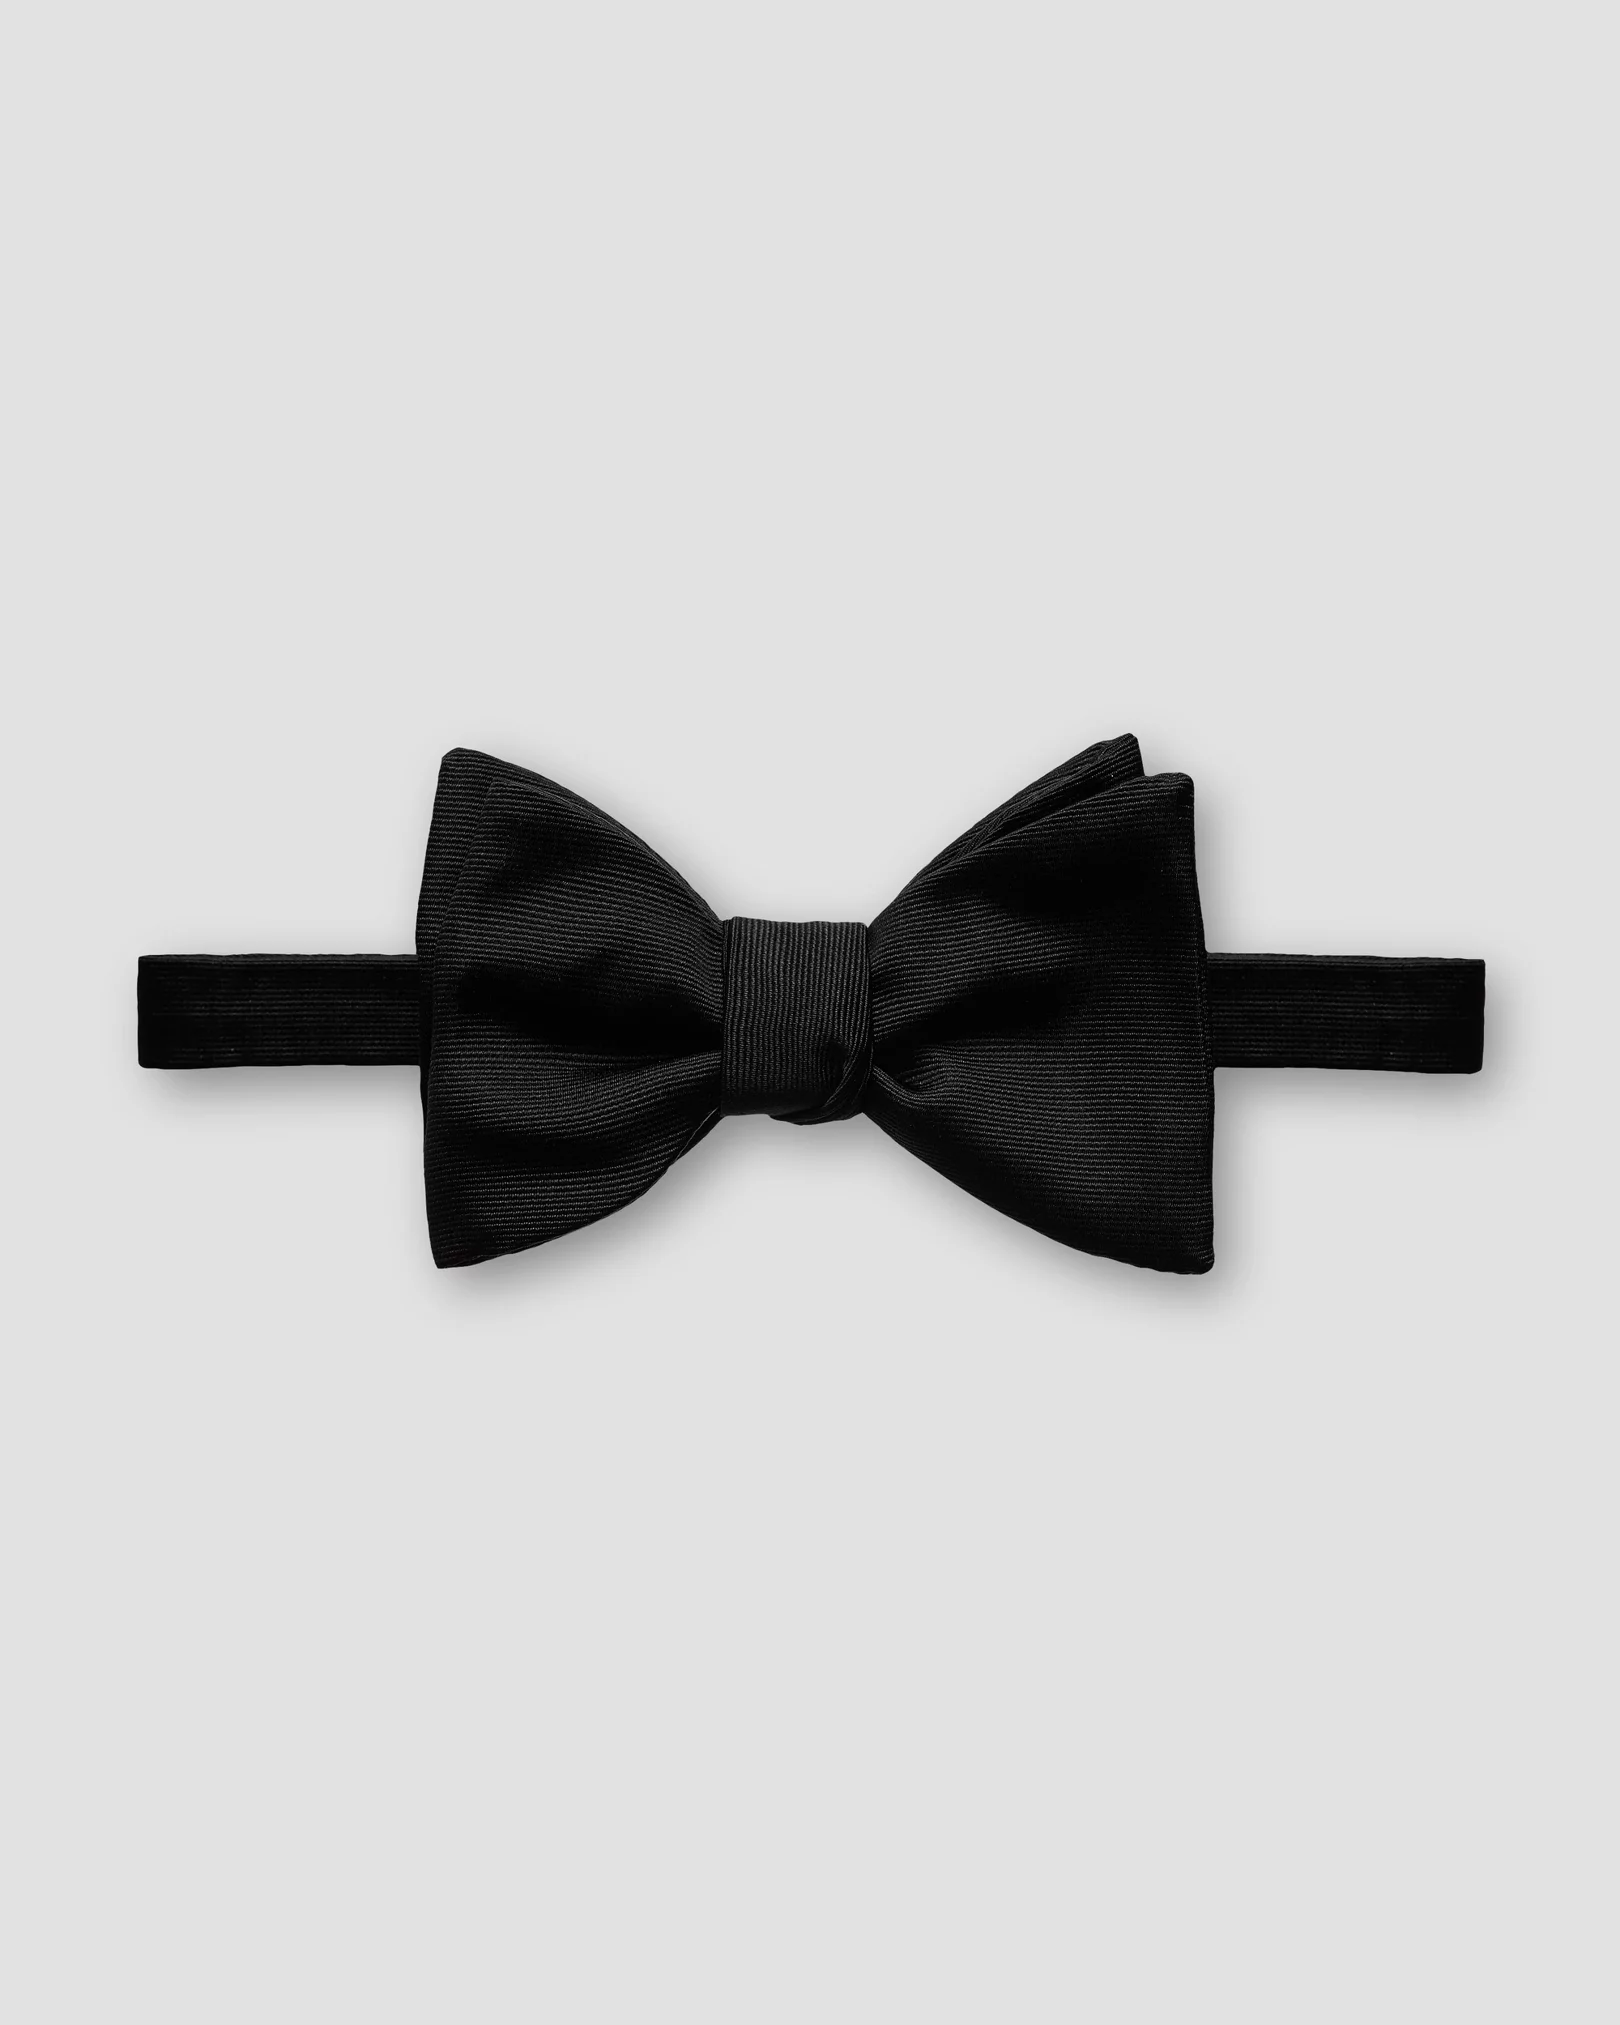
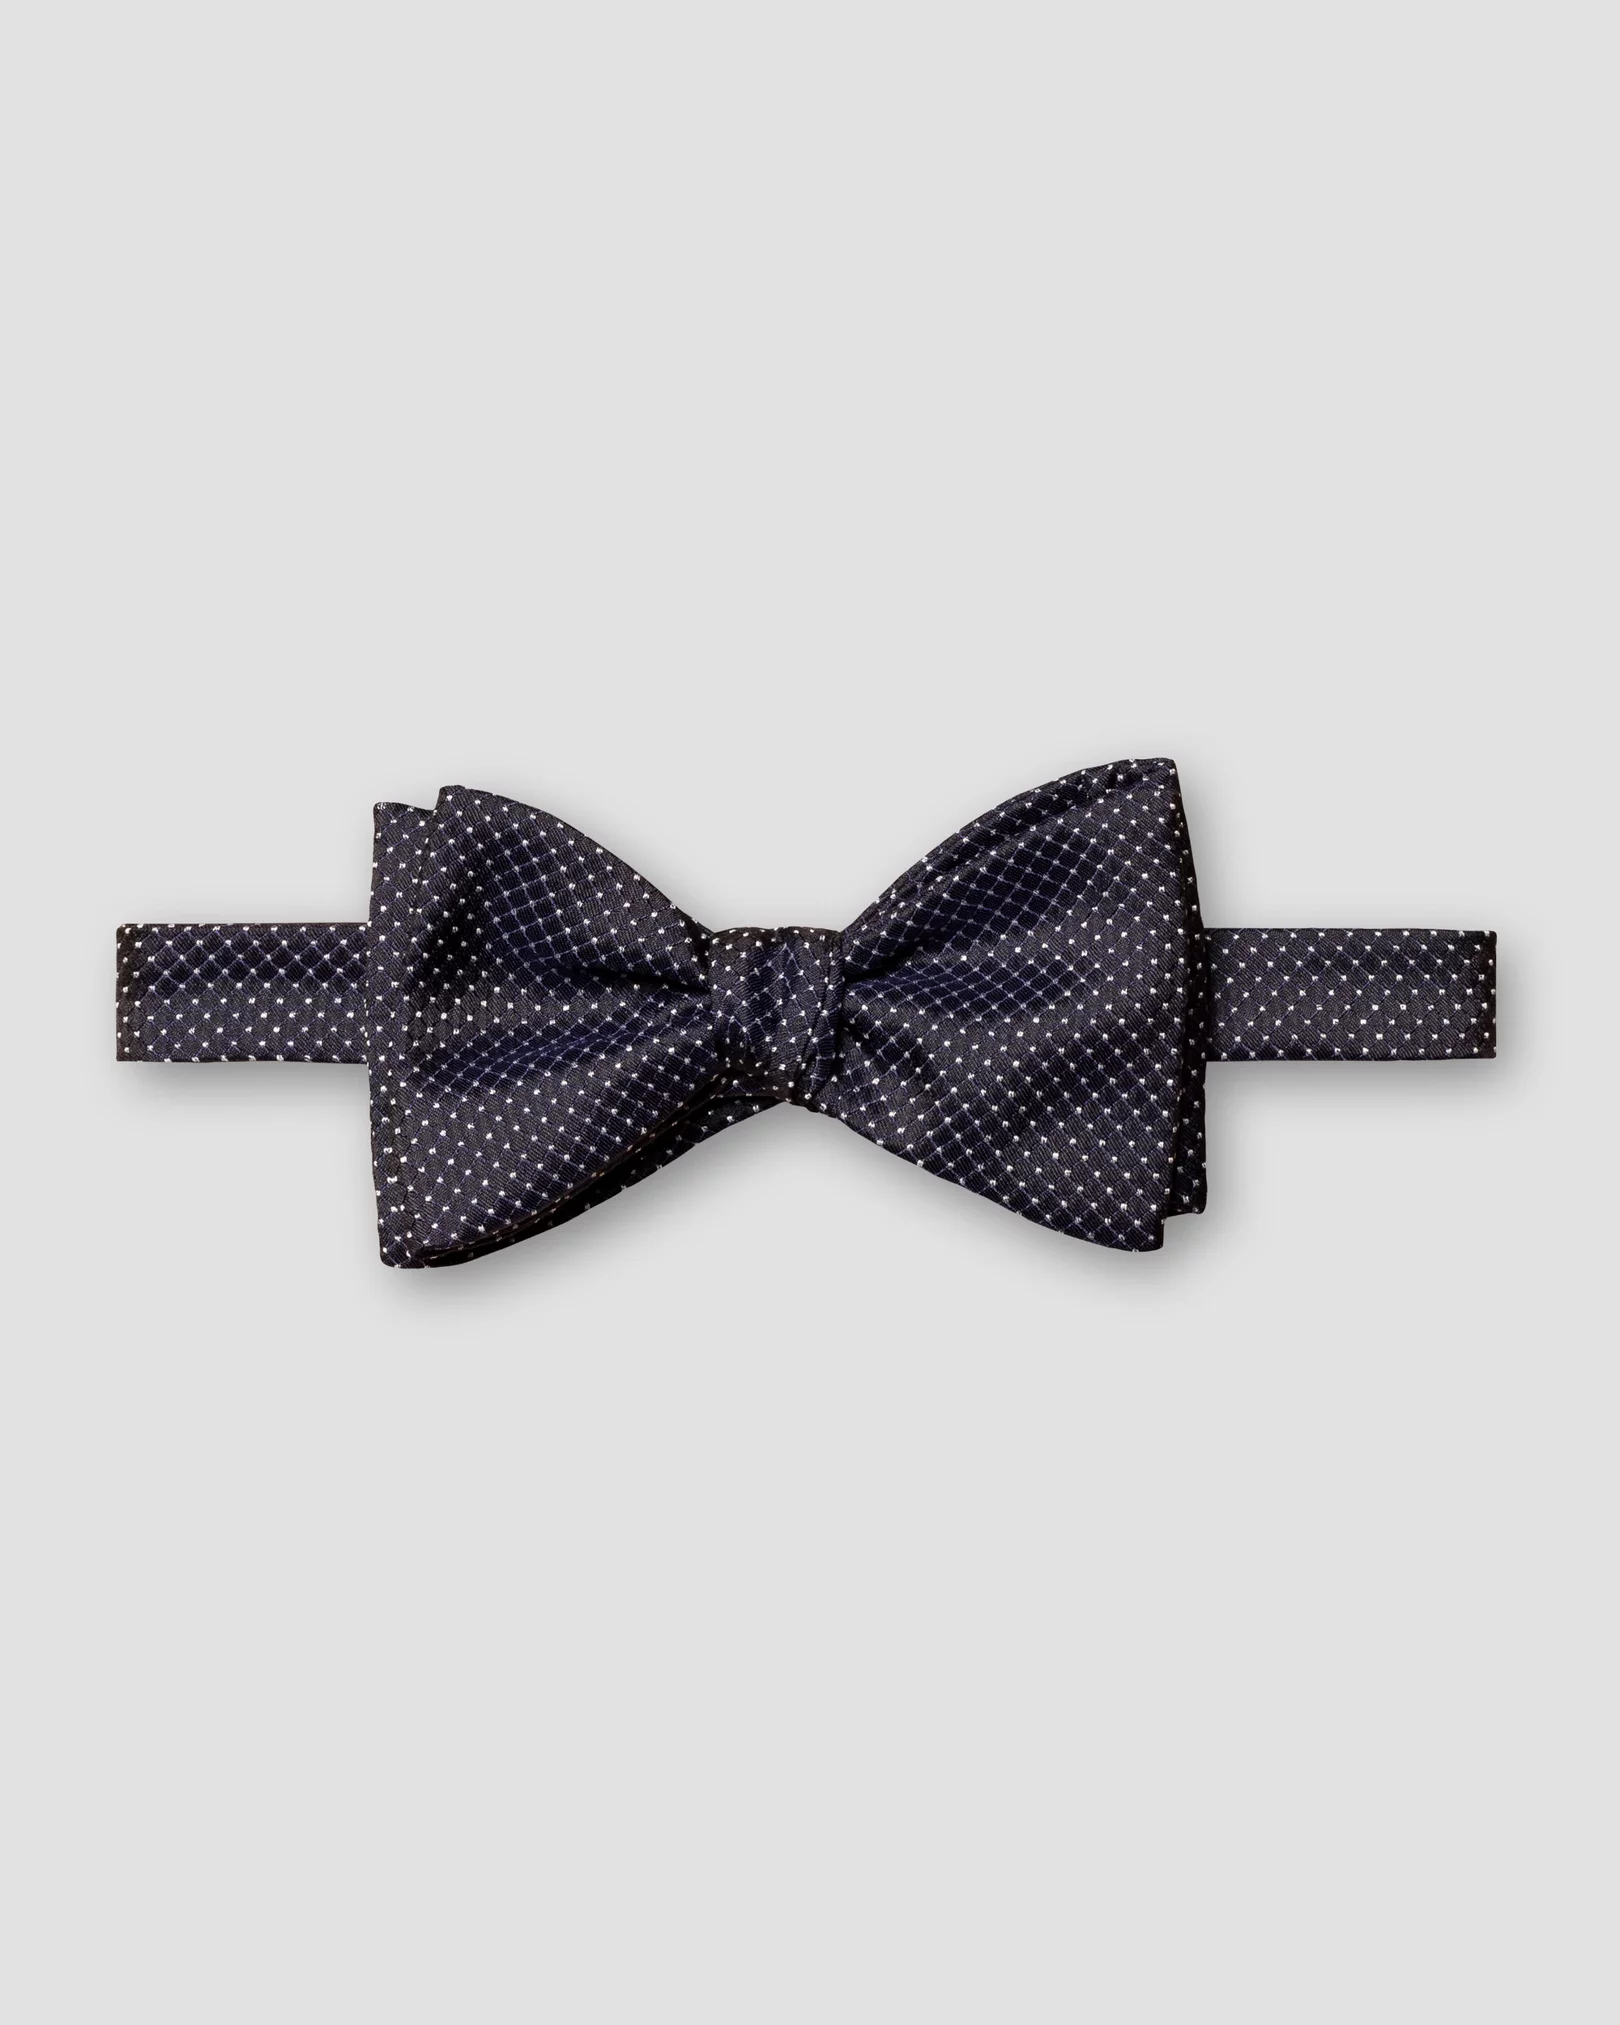
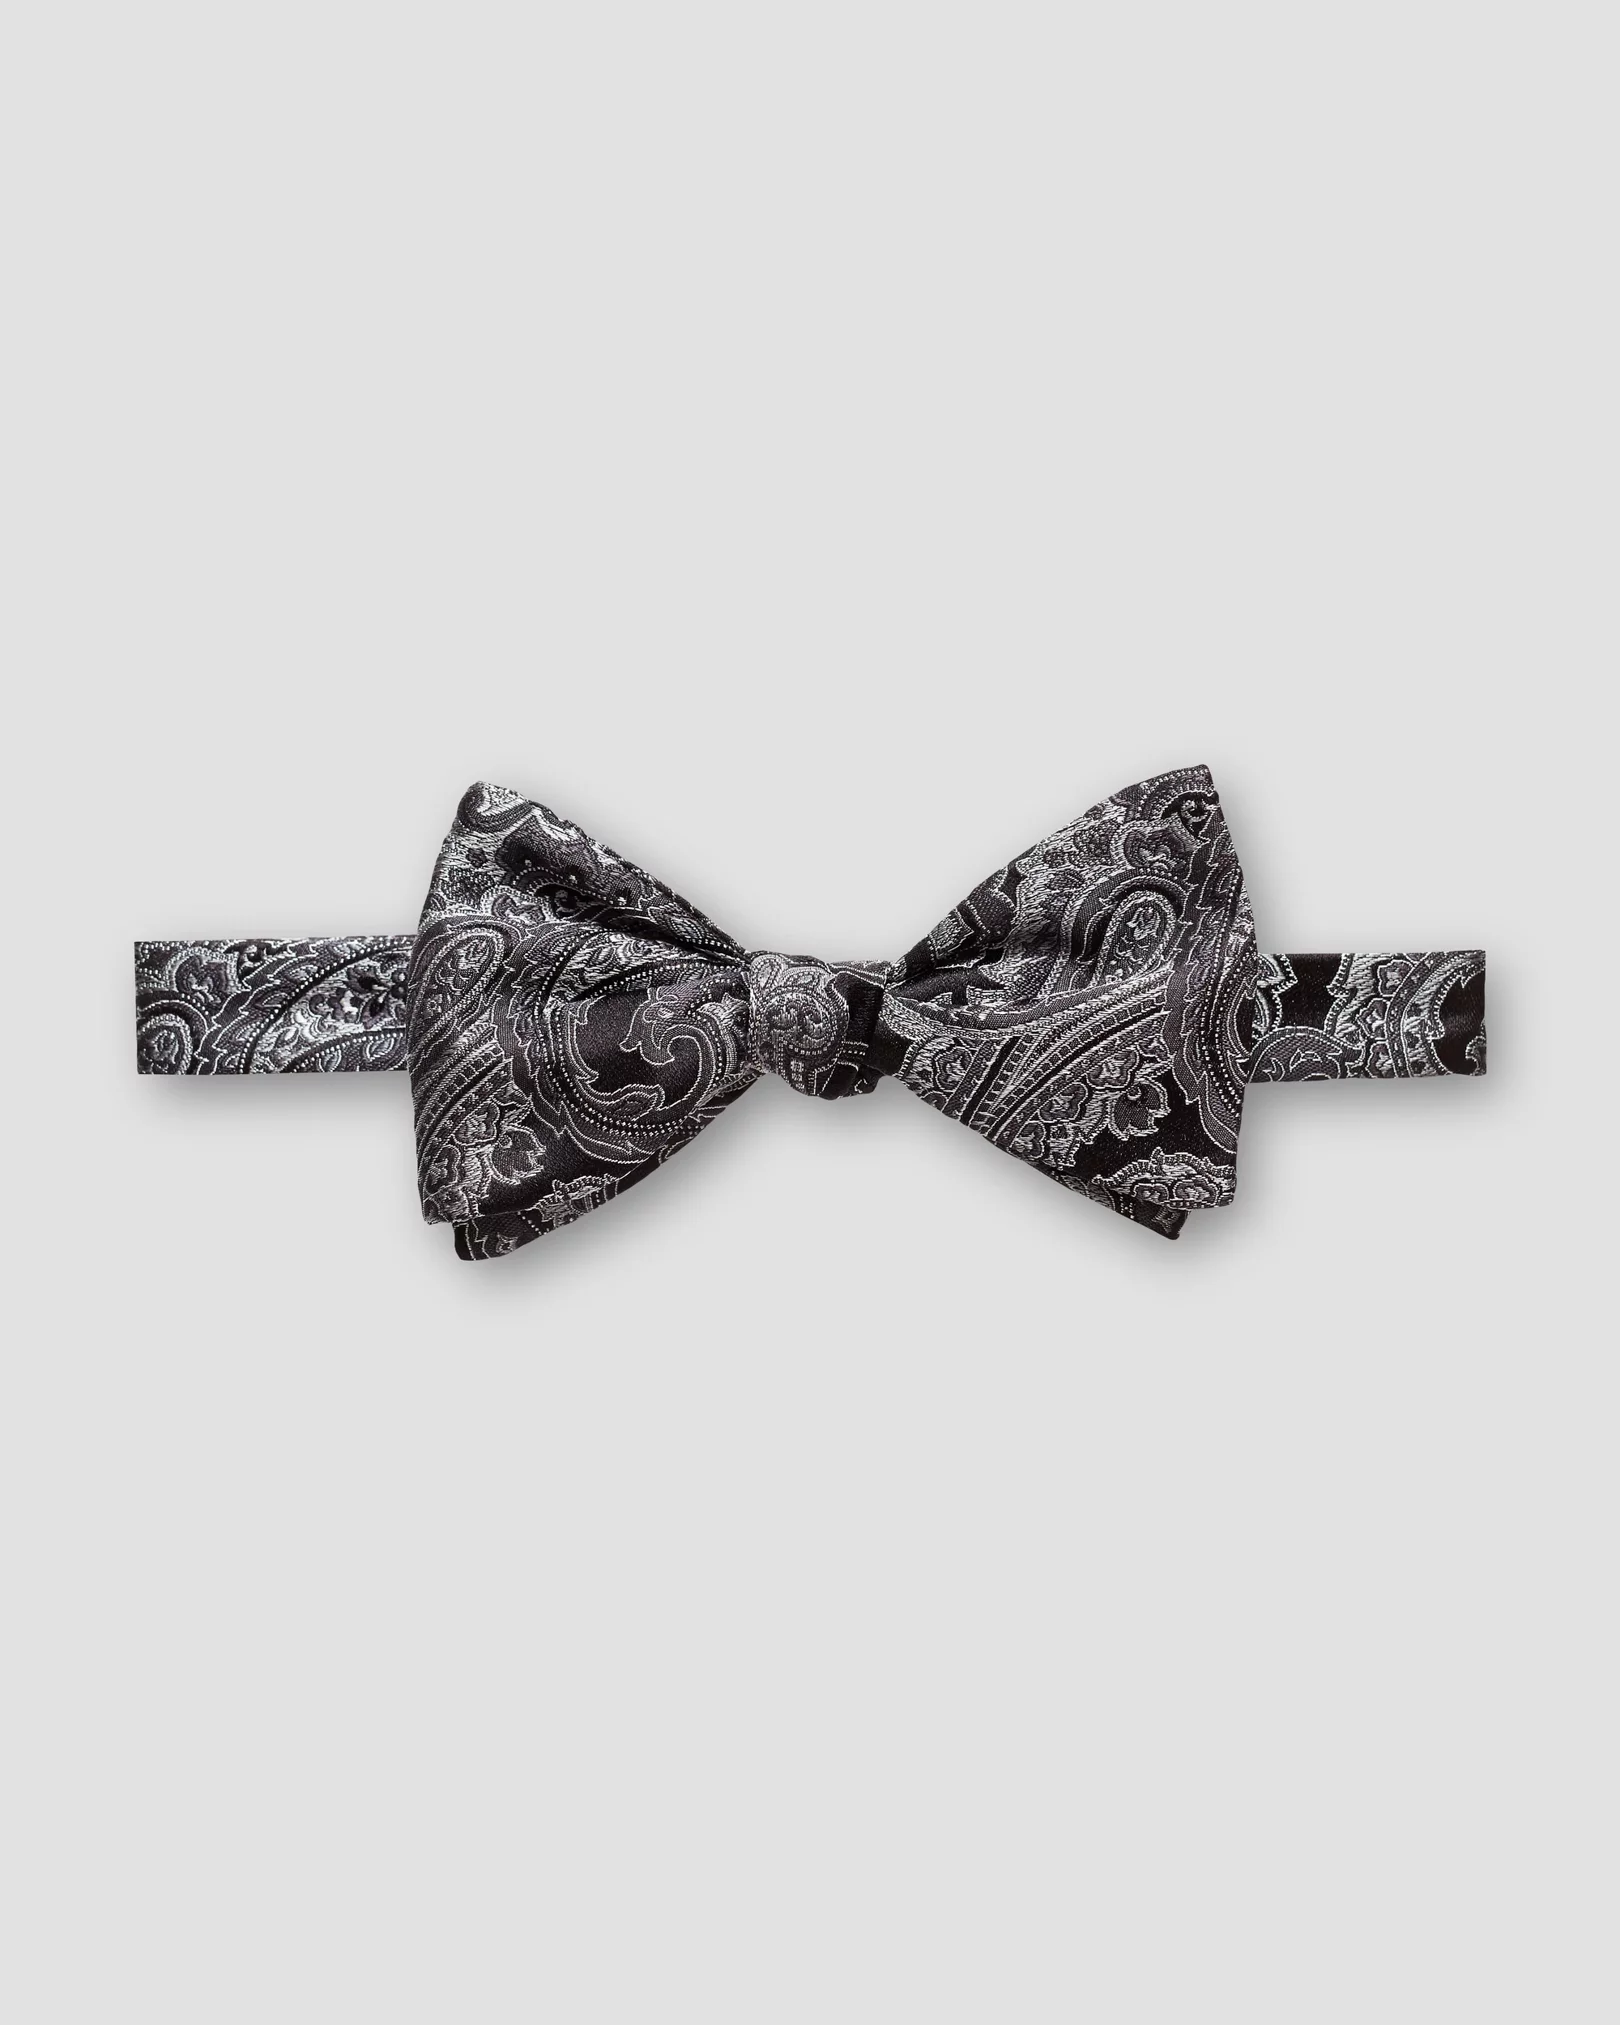
A self-tied bow tie – an elegant exclamation point to a formal style. Tying a bow tie is an art that can be difficult to master, but with a little will, patience, and by using this step-by-step guide, you can easily learn at your own pace. And then you’ll be able to tie your bow tie easily before life’s biggest parties – maybe even before your own wedding. But how do you tie a bow tie correctly? This is a challenge for many, but once you learn it you can proudly display one of the most stylish accessories of all time.
It’s important to know that there are pre-tied bow ties you can purchase from us, but we at Eton prefer a bow tie that you have tied yourself. A self-tied bow tie will never be perfect – it will always be slightly crooked, and one side will be slightly longer than the other, but it will always highlight your personality. This gives you a more elegant and relaxed look.
How to tie a bow tie step by step
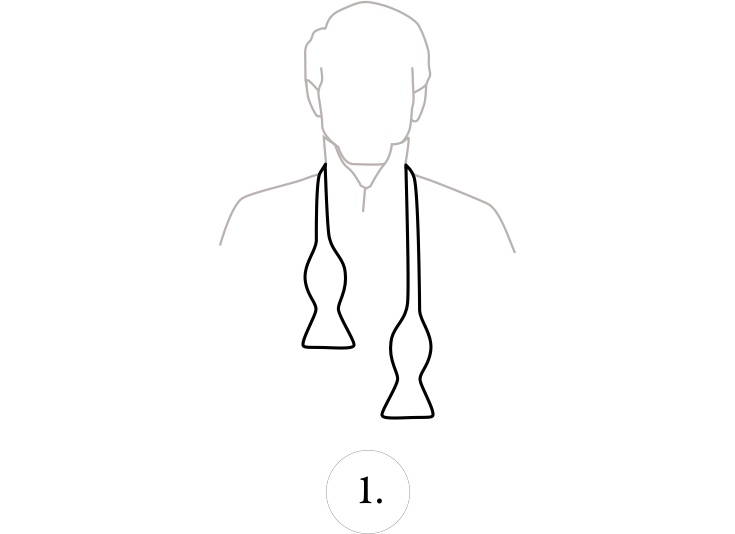 Step 1: First, make sure one side of the bow tie is lower than the other. Then take the longer part and place it over the short part.
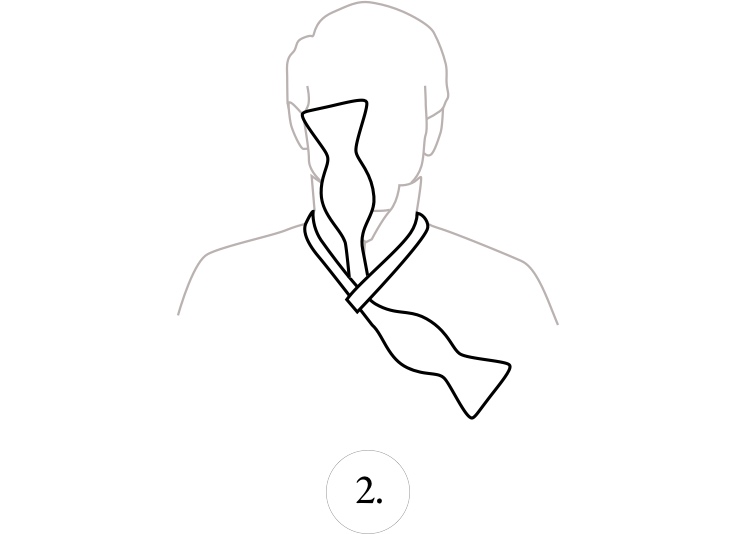 Step 2: With the longer part still in your hand, pull it under and then up behind the bow tie.
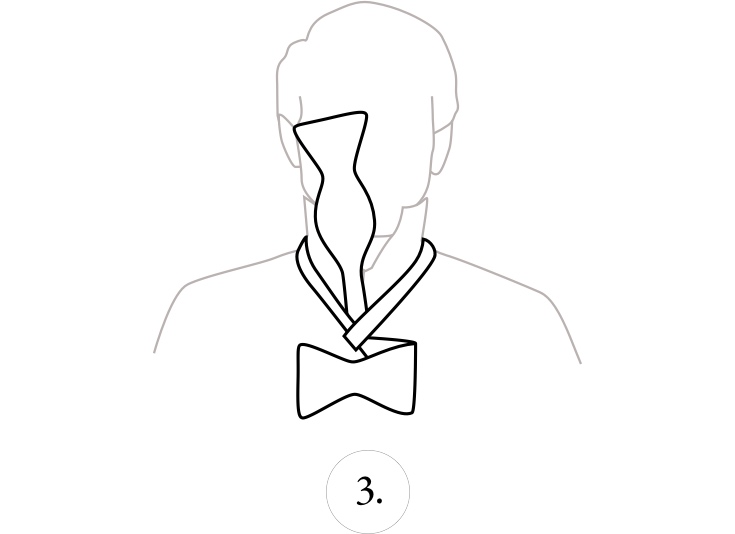 Step 3: Now comes the fun part: fold the short part so that it resembles a butterfly wing.
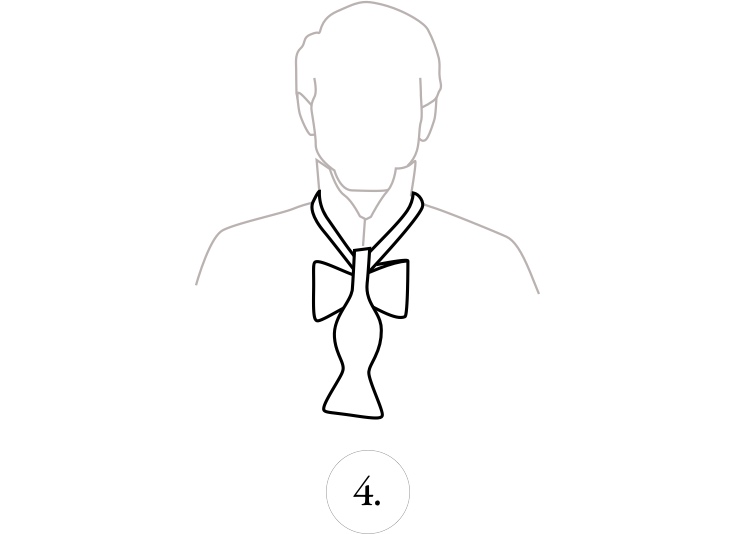 Step 4: Come around with the long part again and pull it up and over towards the front ↑ so that it is in front of the butterfly wing.
 Step 5: Pull the left wing over the right → and hold them together.
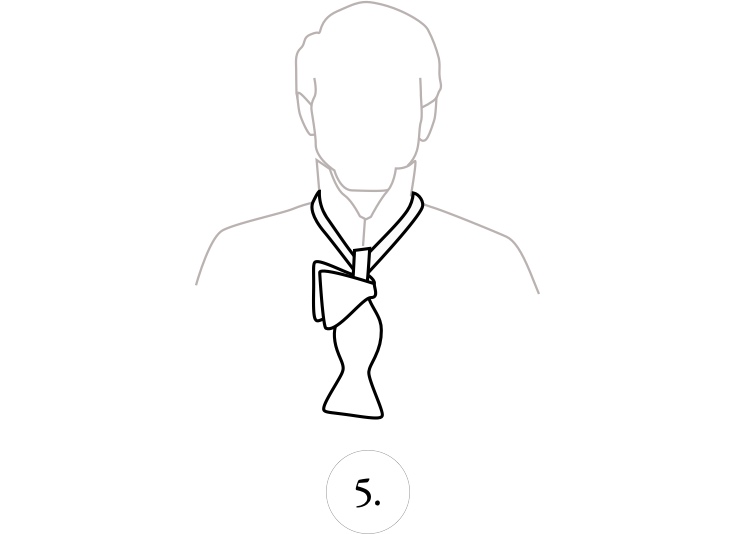
 Step 6: This is where it can get tricky. Hold the left wing and make sure to have a loophole at the top of the bow tie. Then fold the right side of the wing (the longer part).
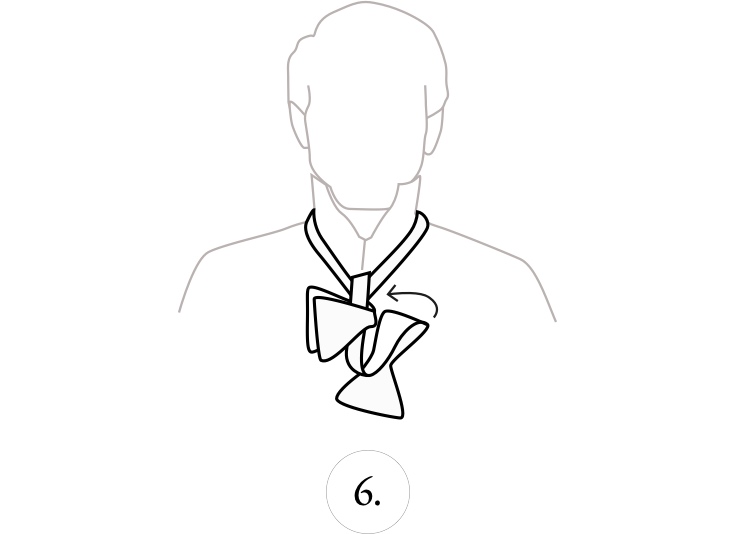
 Step 7: Now take the right side of the wing (the longer part) and push it through the loophole, behind the first wing.
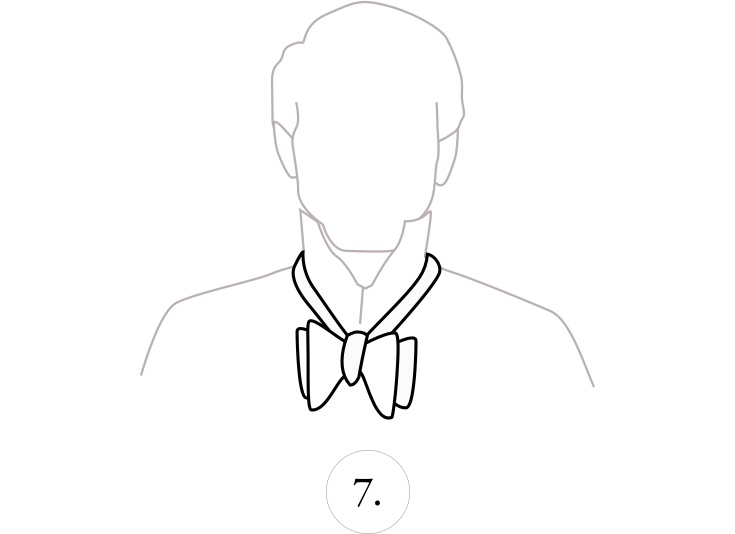
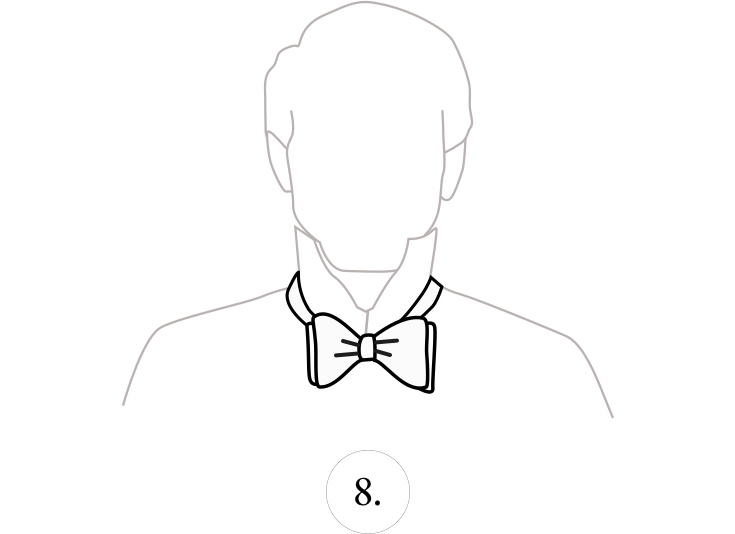 Step 8: Finally adjust the bow tie and tighten it. You are now ready for your big night.