How to Tie a Four in Hand Knot
• 5 min

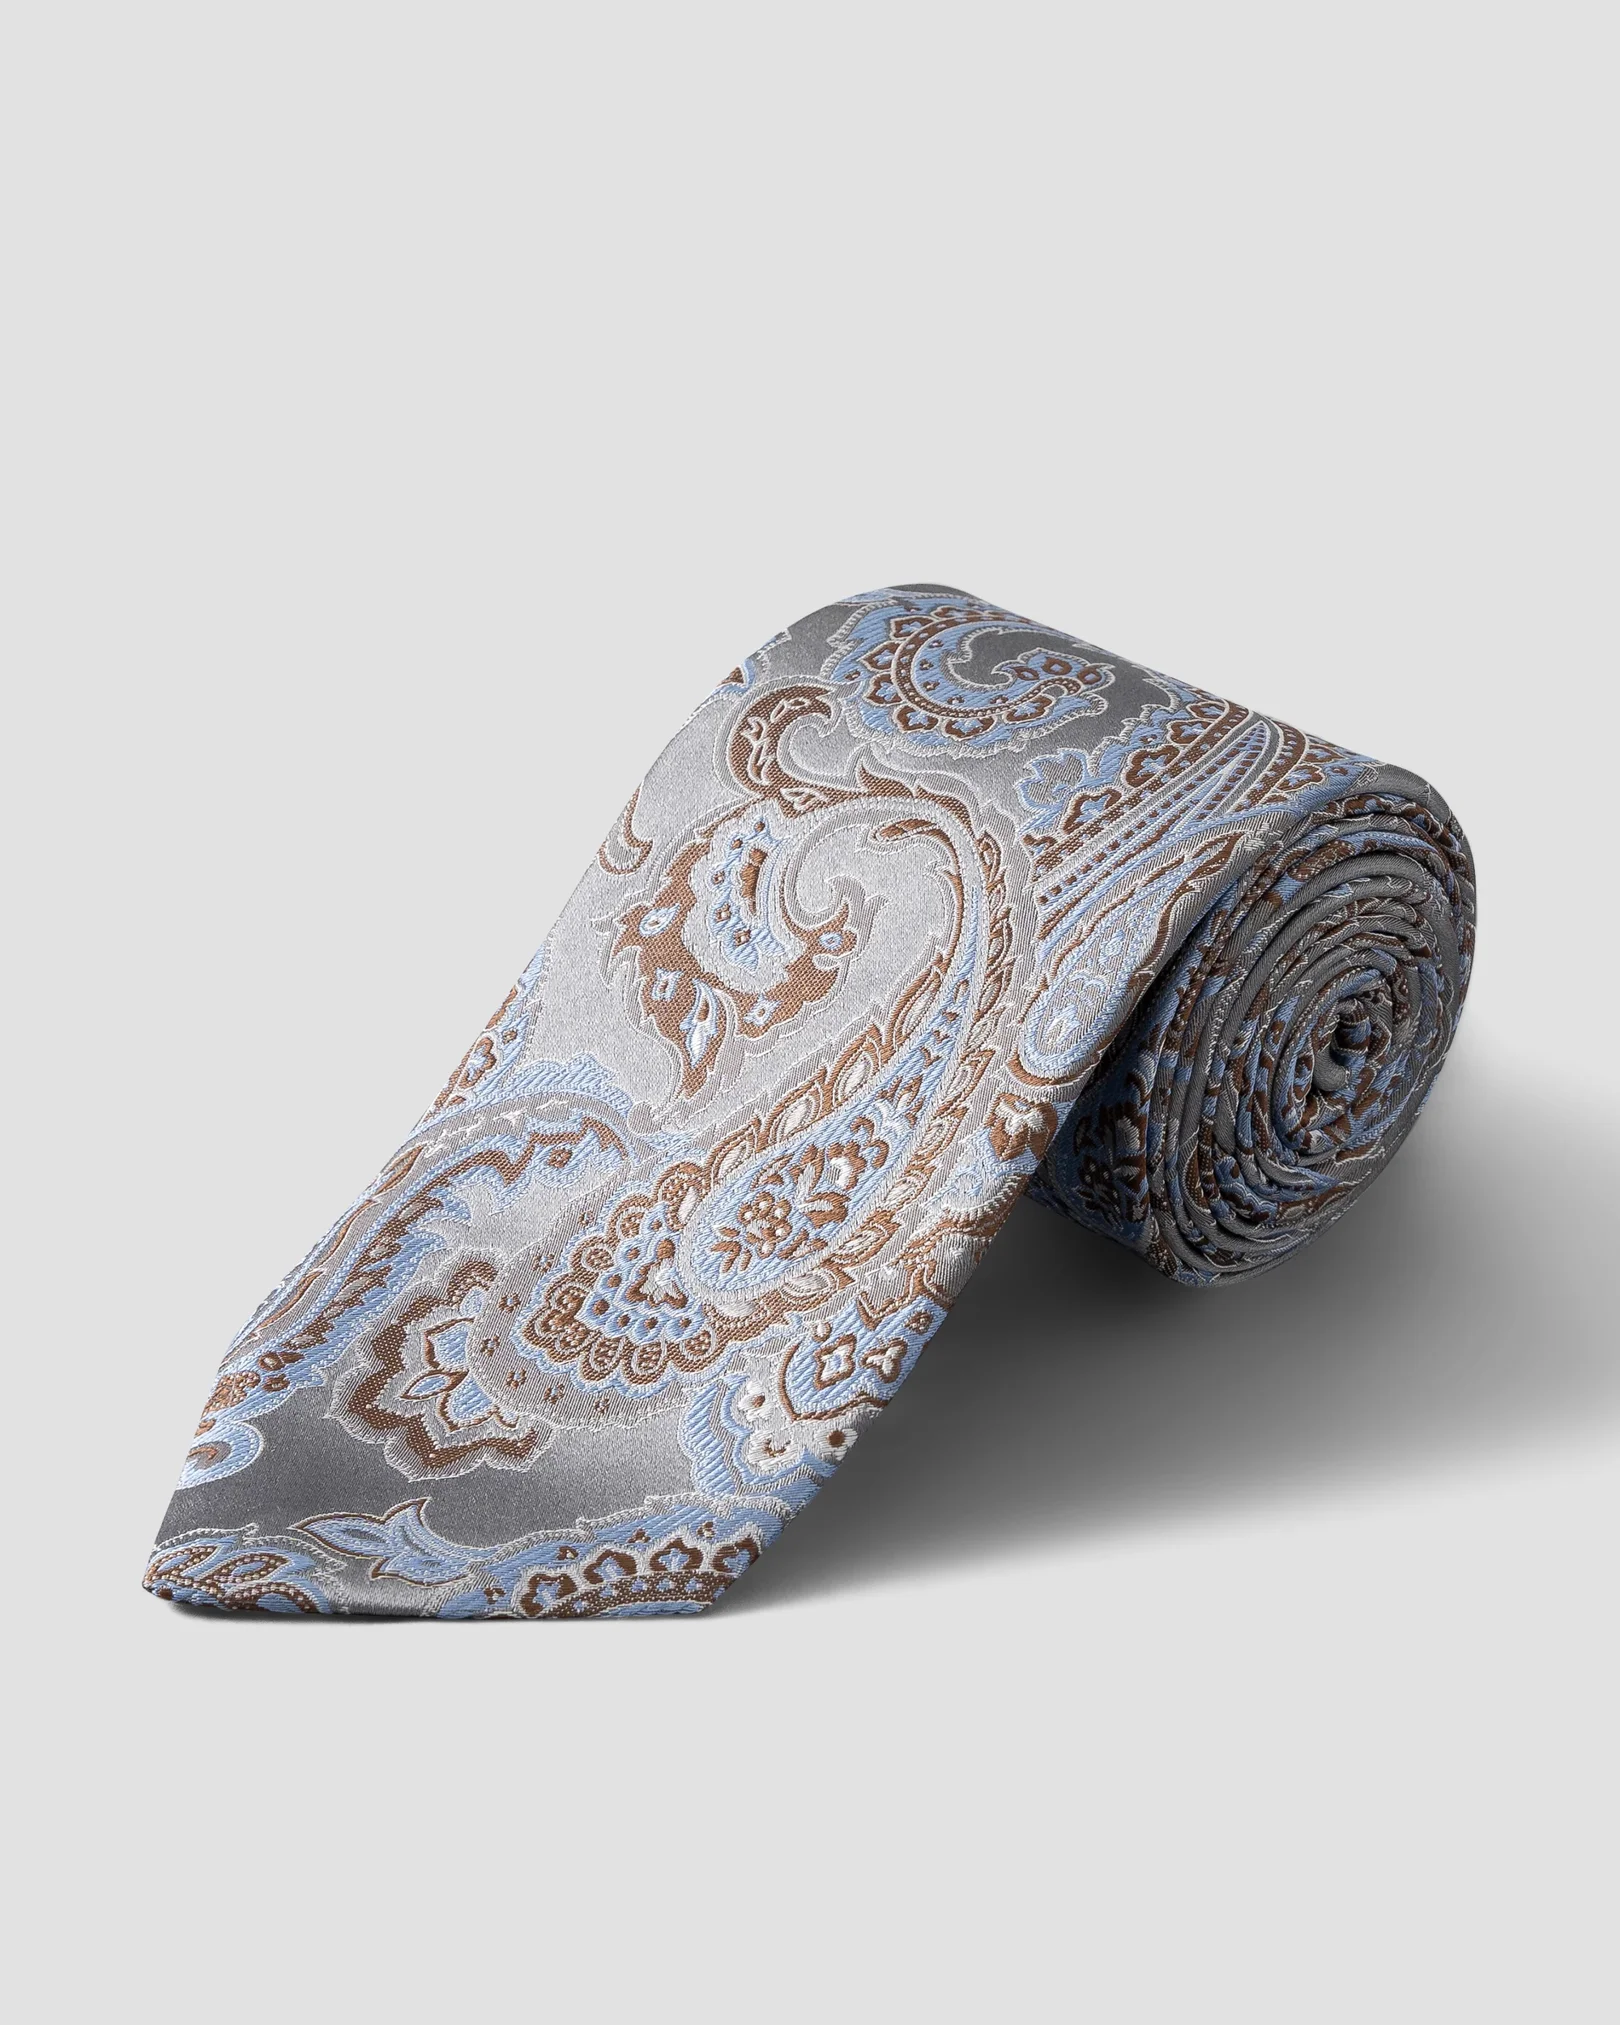
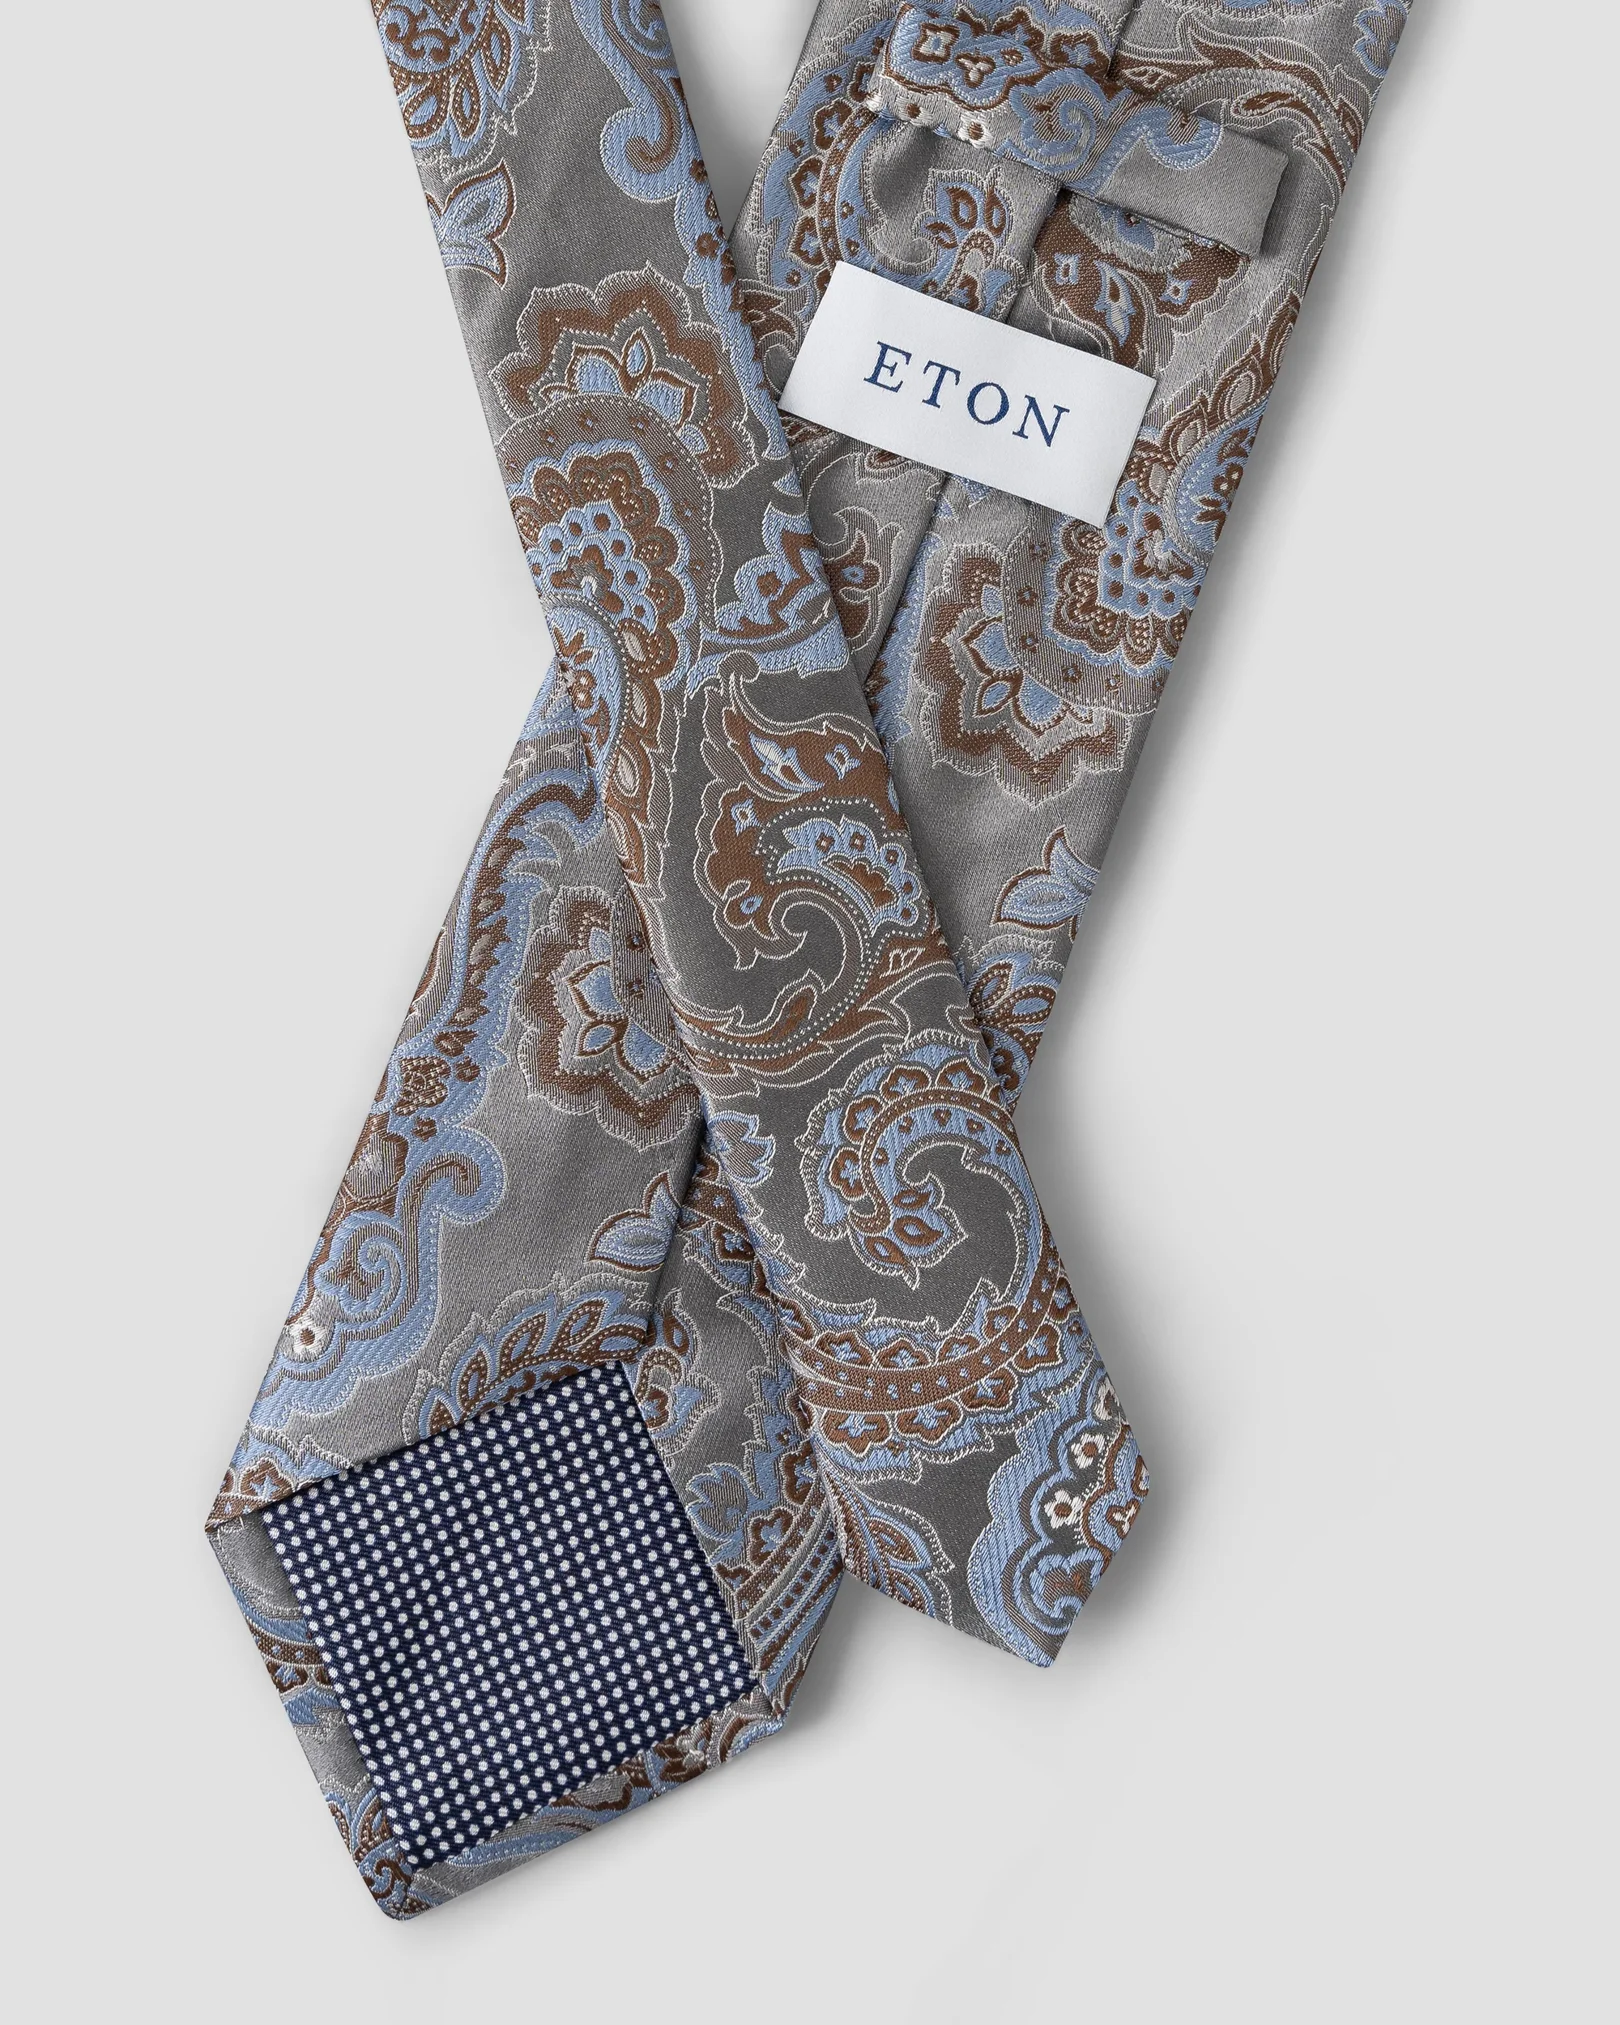
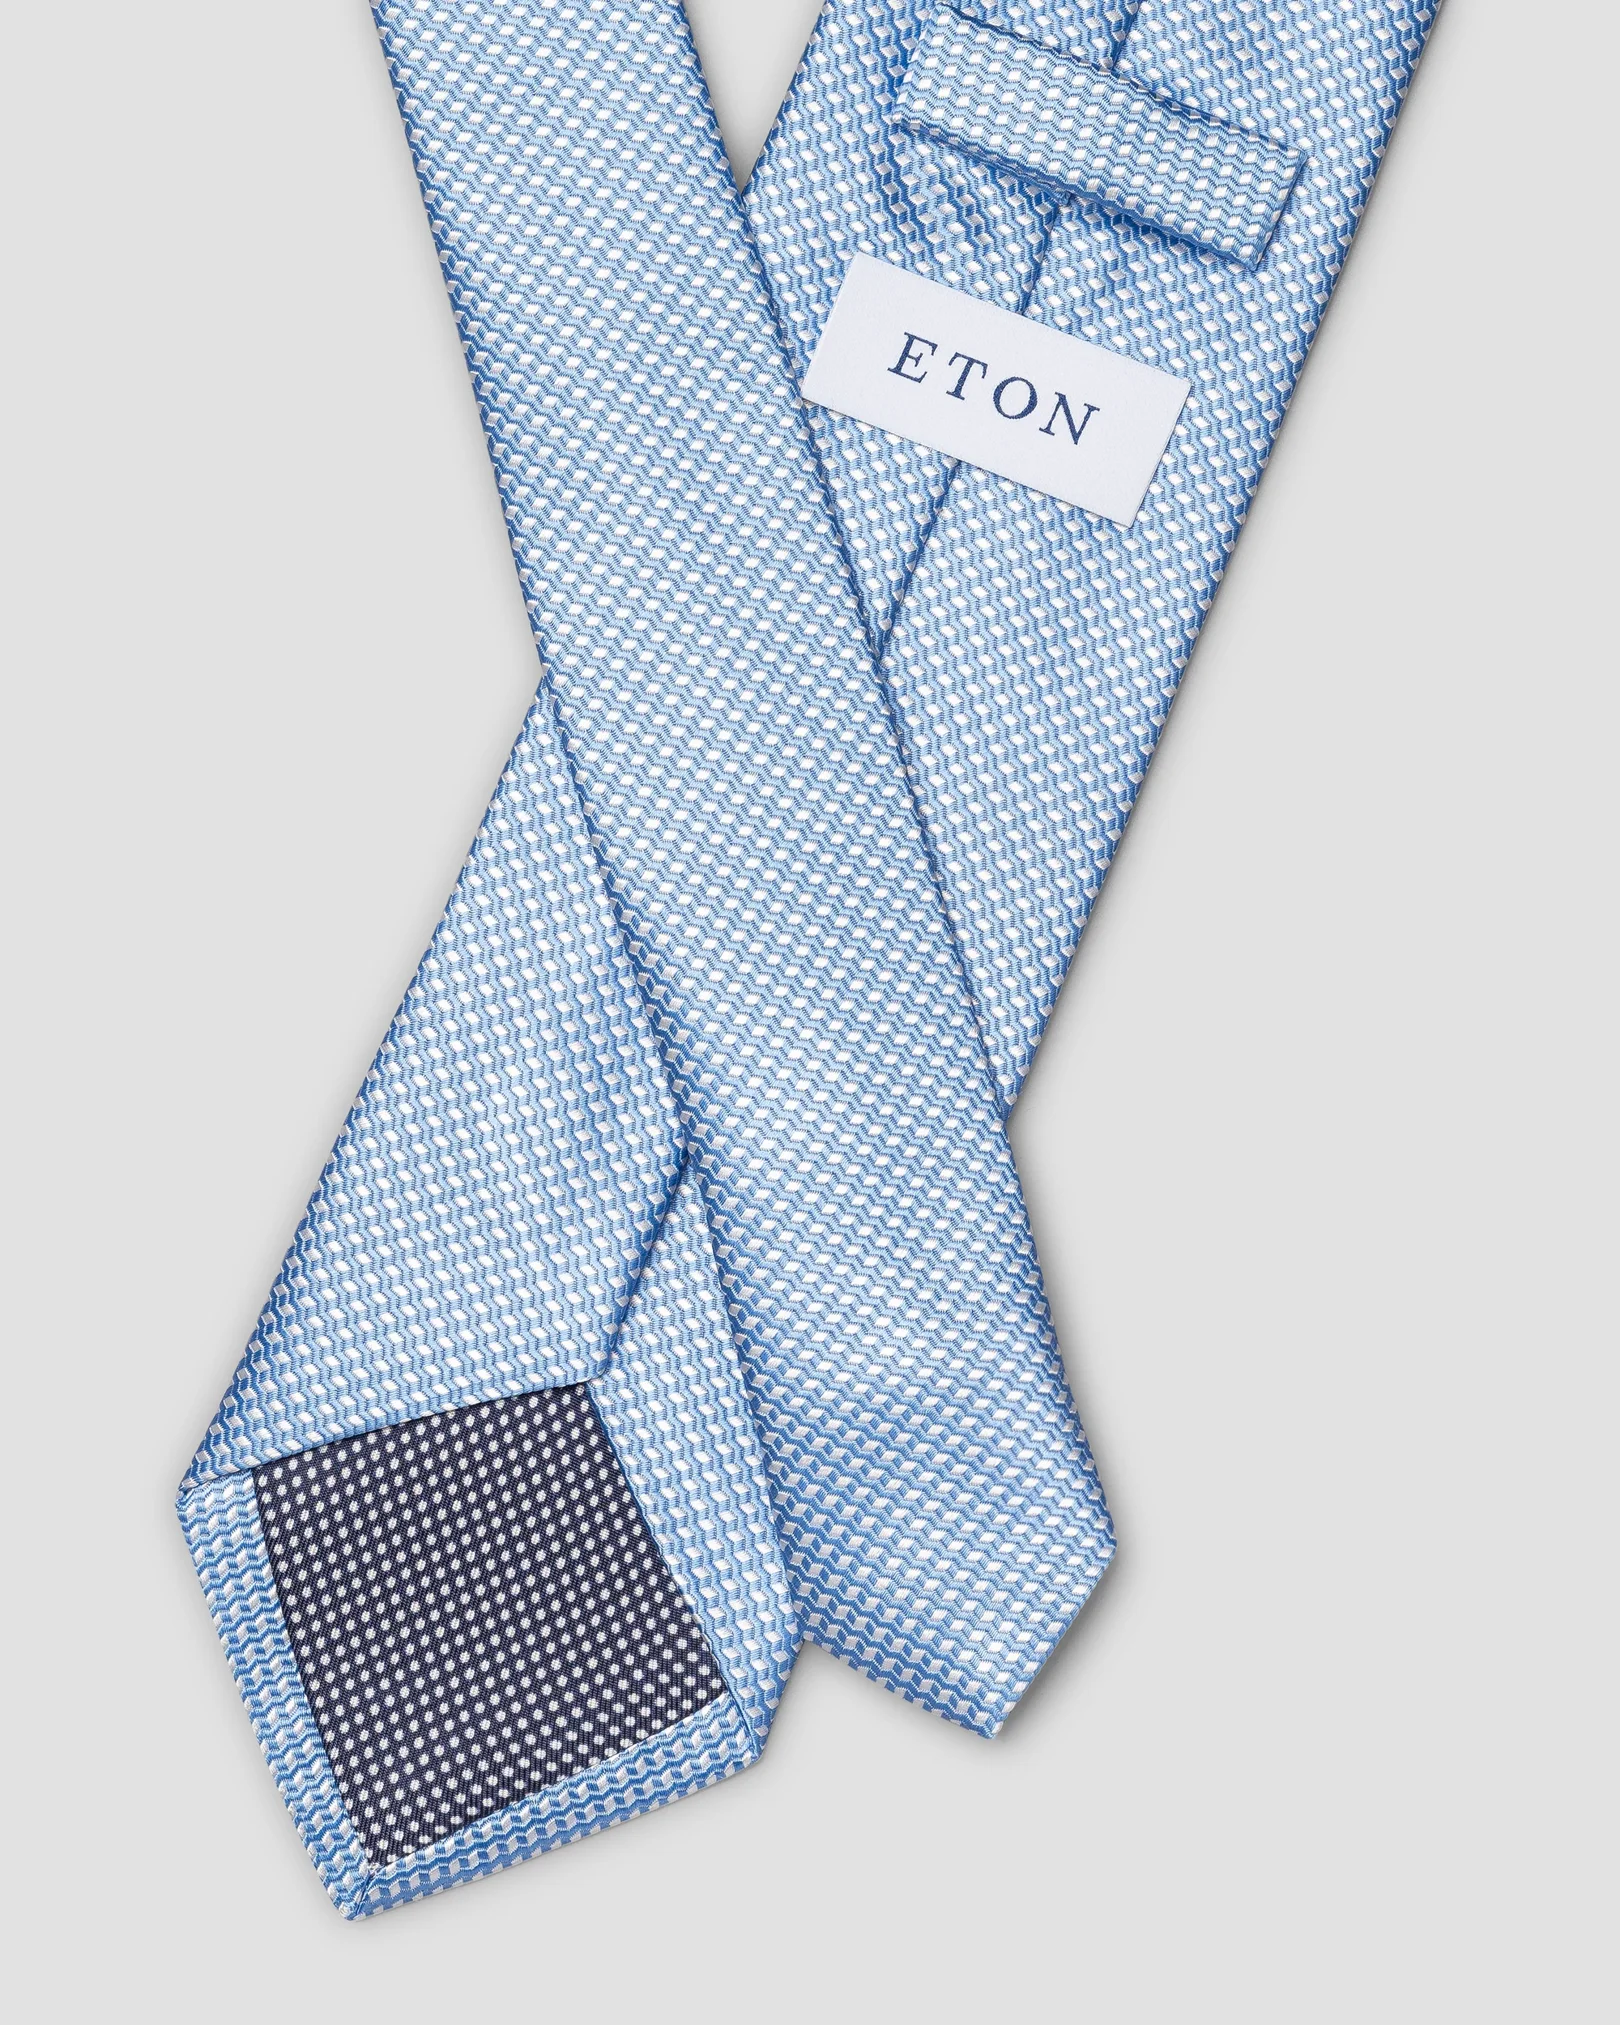
If you're looking for a tie knot that's simple, versatile, and modern, the four-in-hand knot is perfect for you. It's easy to tie and requires minimal effort, making it an excellent choice for time-pressed individuals who want to look sharp without spending hours deciding between different knots. This knot is commonly used in offices, restaurants, and public events, making it suitable for almost any occasion.
The four-in-hand knot is also known as the "simple" or schoolboy knot, and it's named after a four-horse driving club in 1800s London. Although there are more than four steps to tie this knot, each step is intuitive and easy to follow. You can make the knot look even better by creating a dimple under it before tightening and angling it slightly to the side to avoid a perfectly symmetrical result.
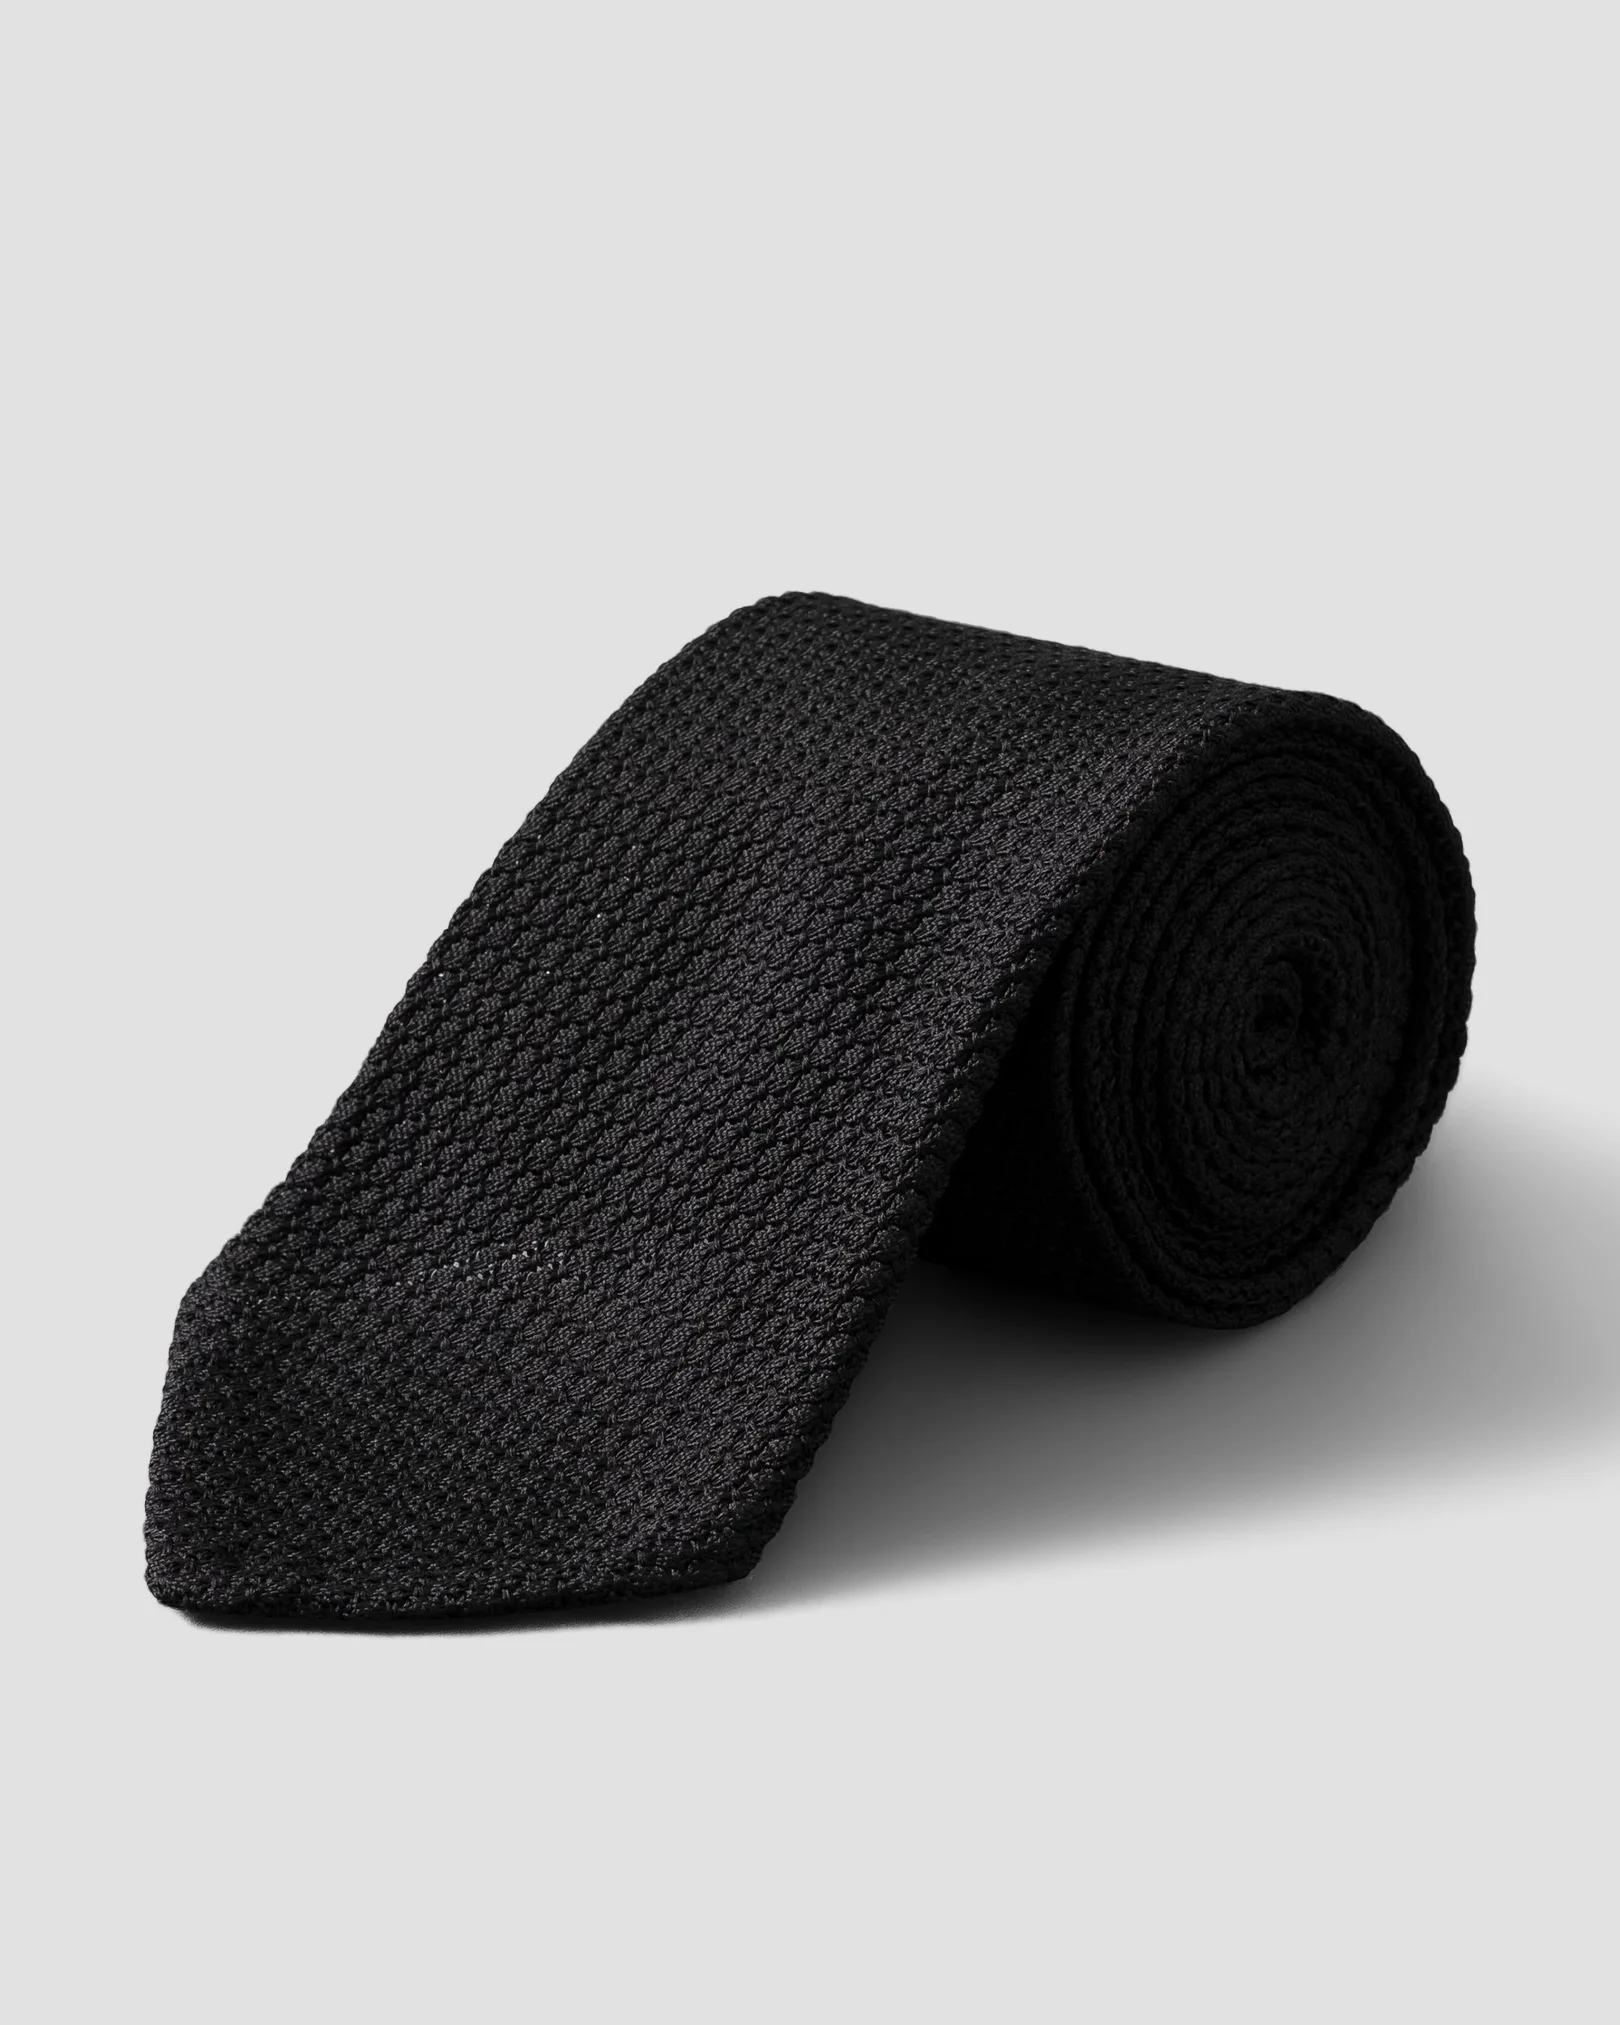
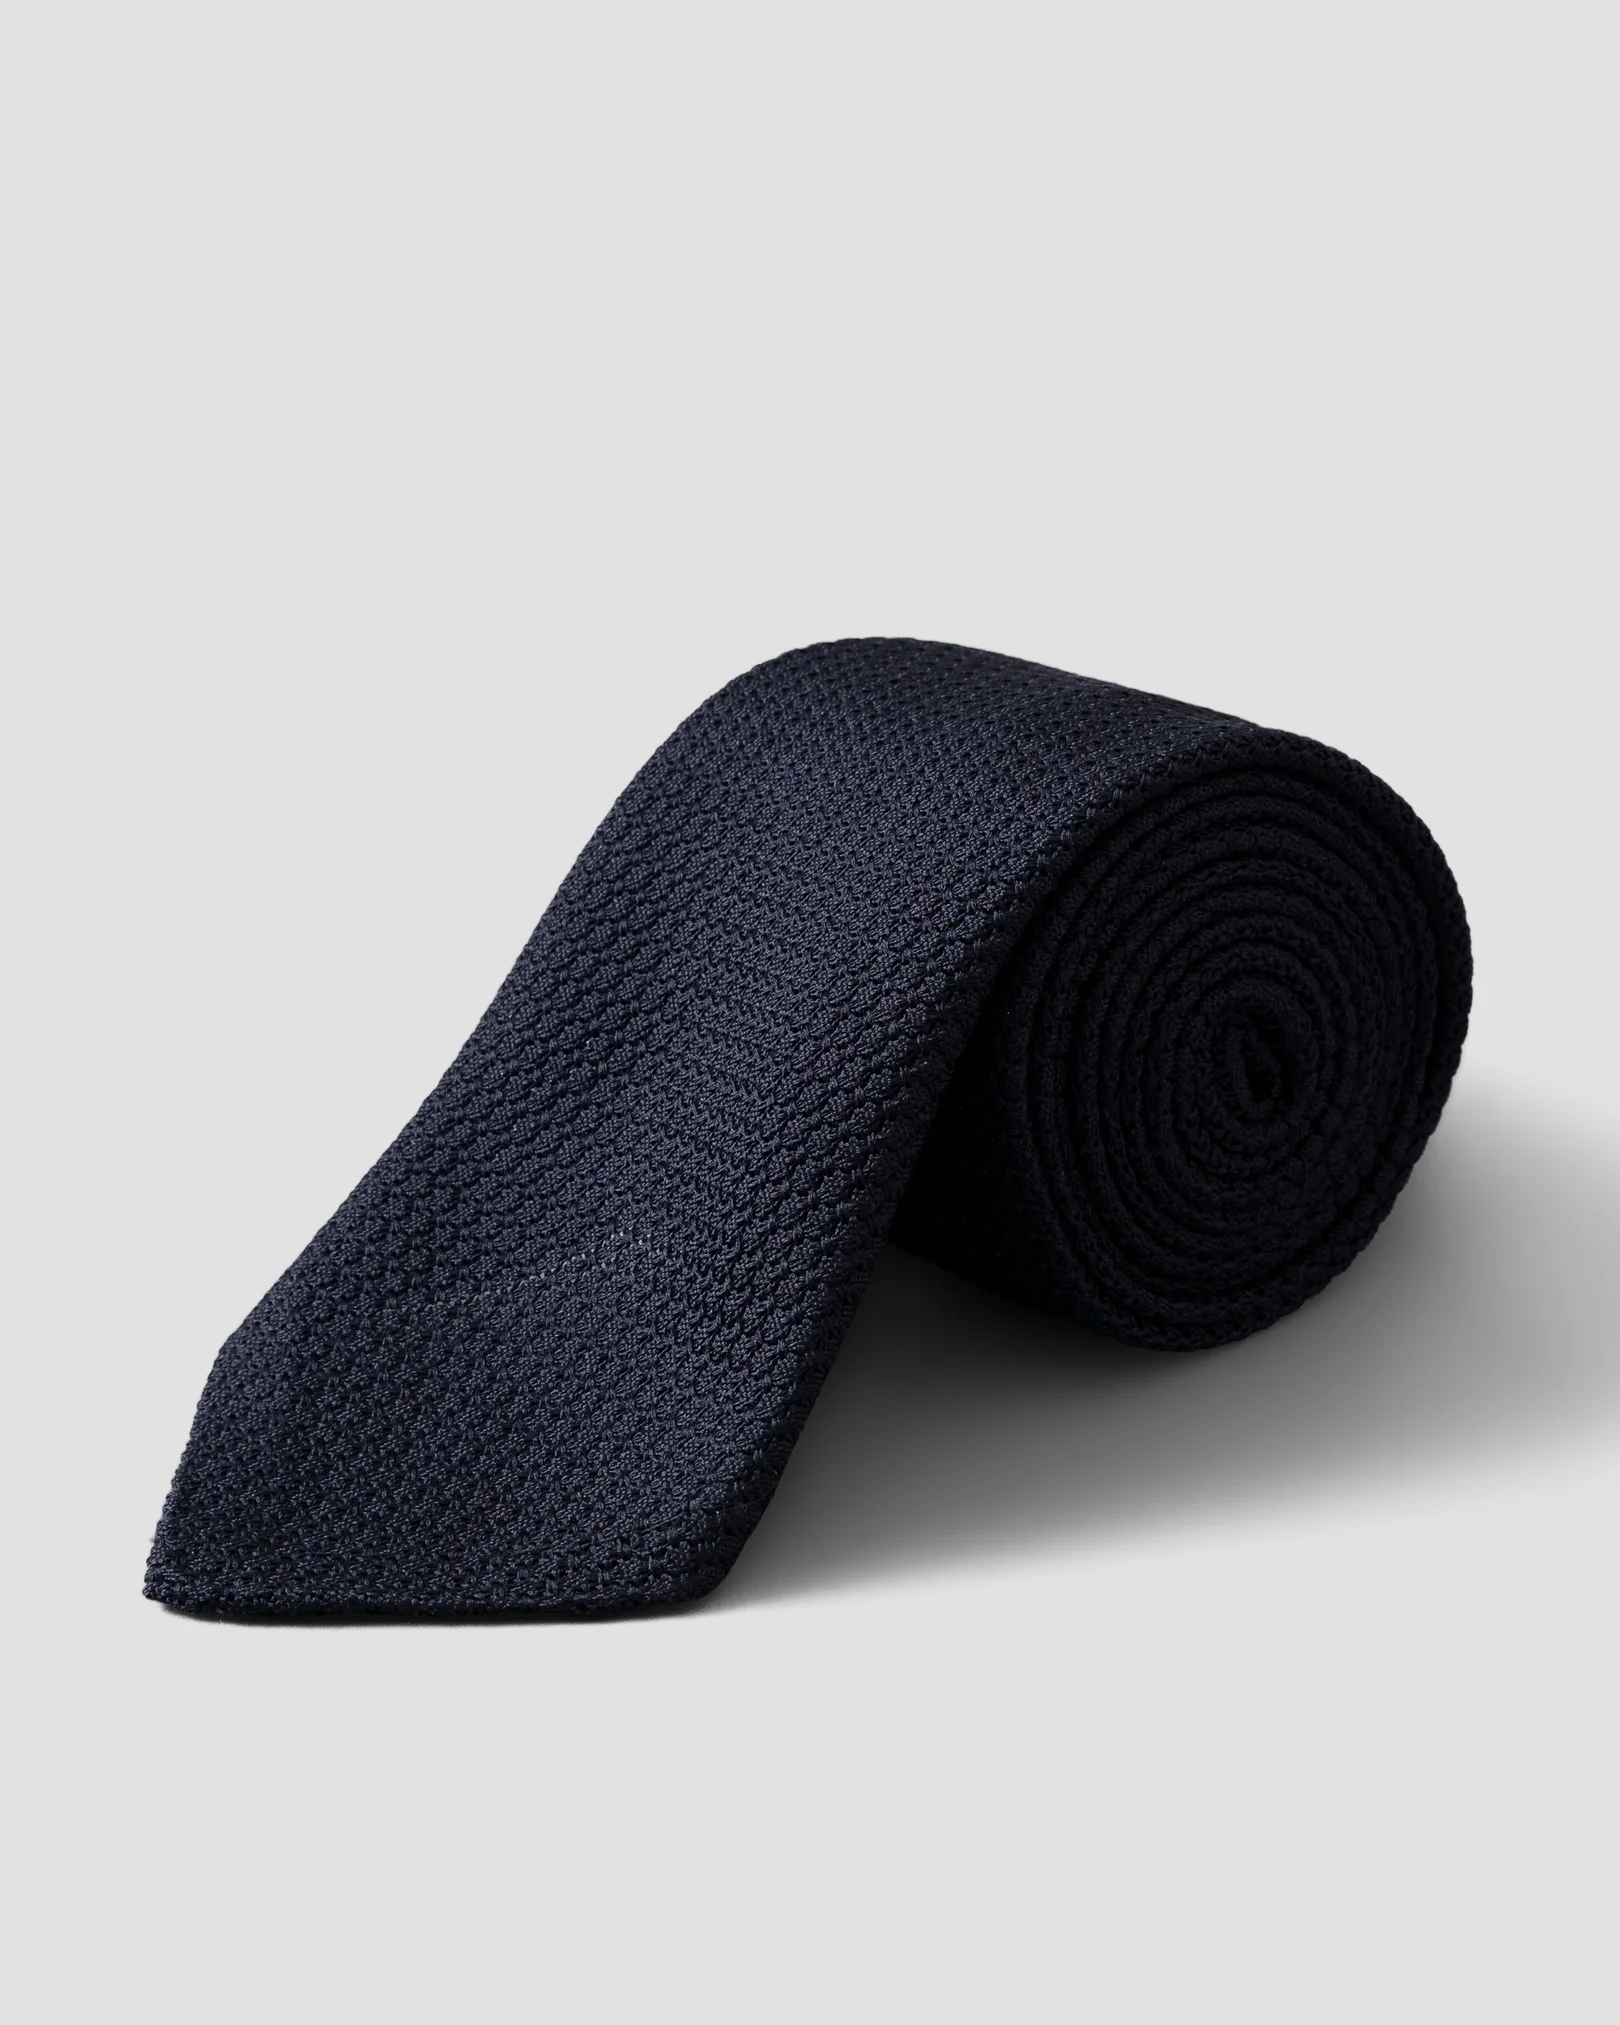
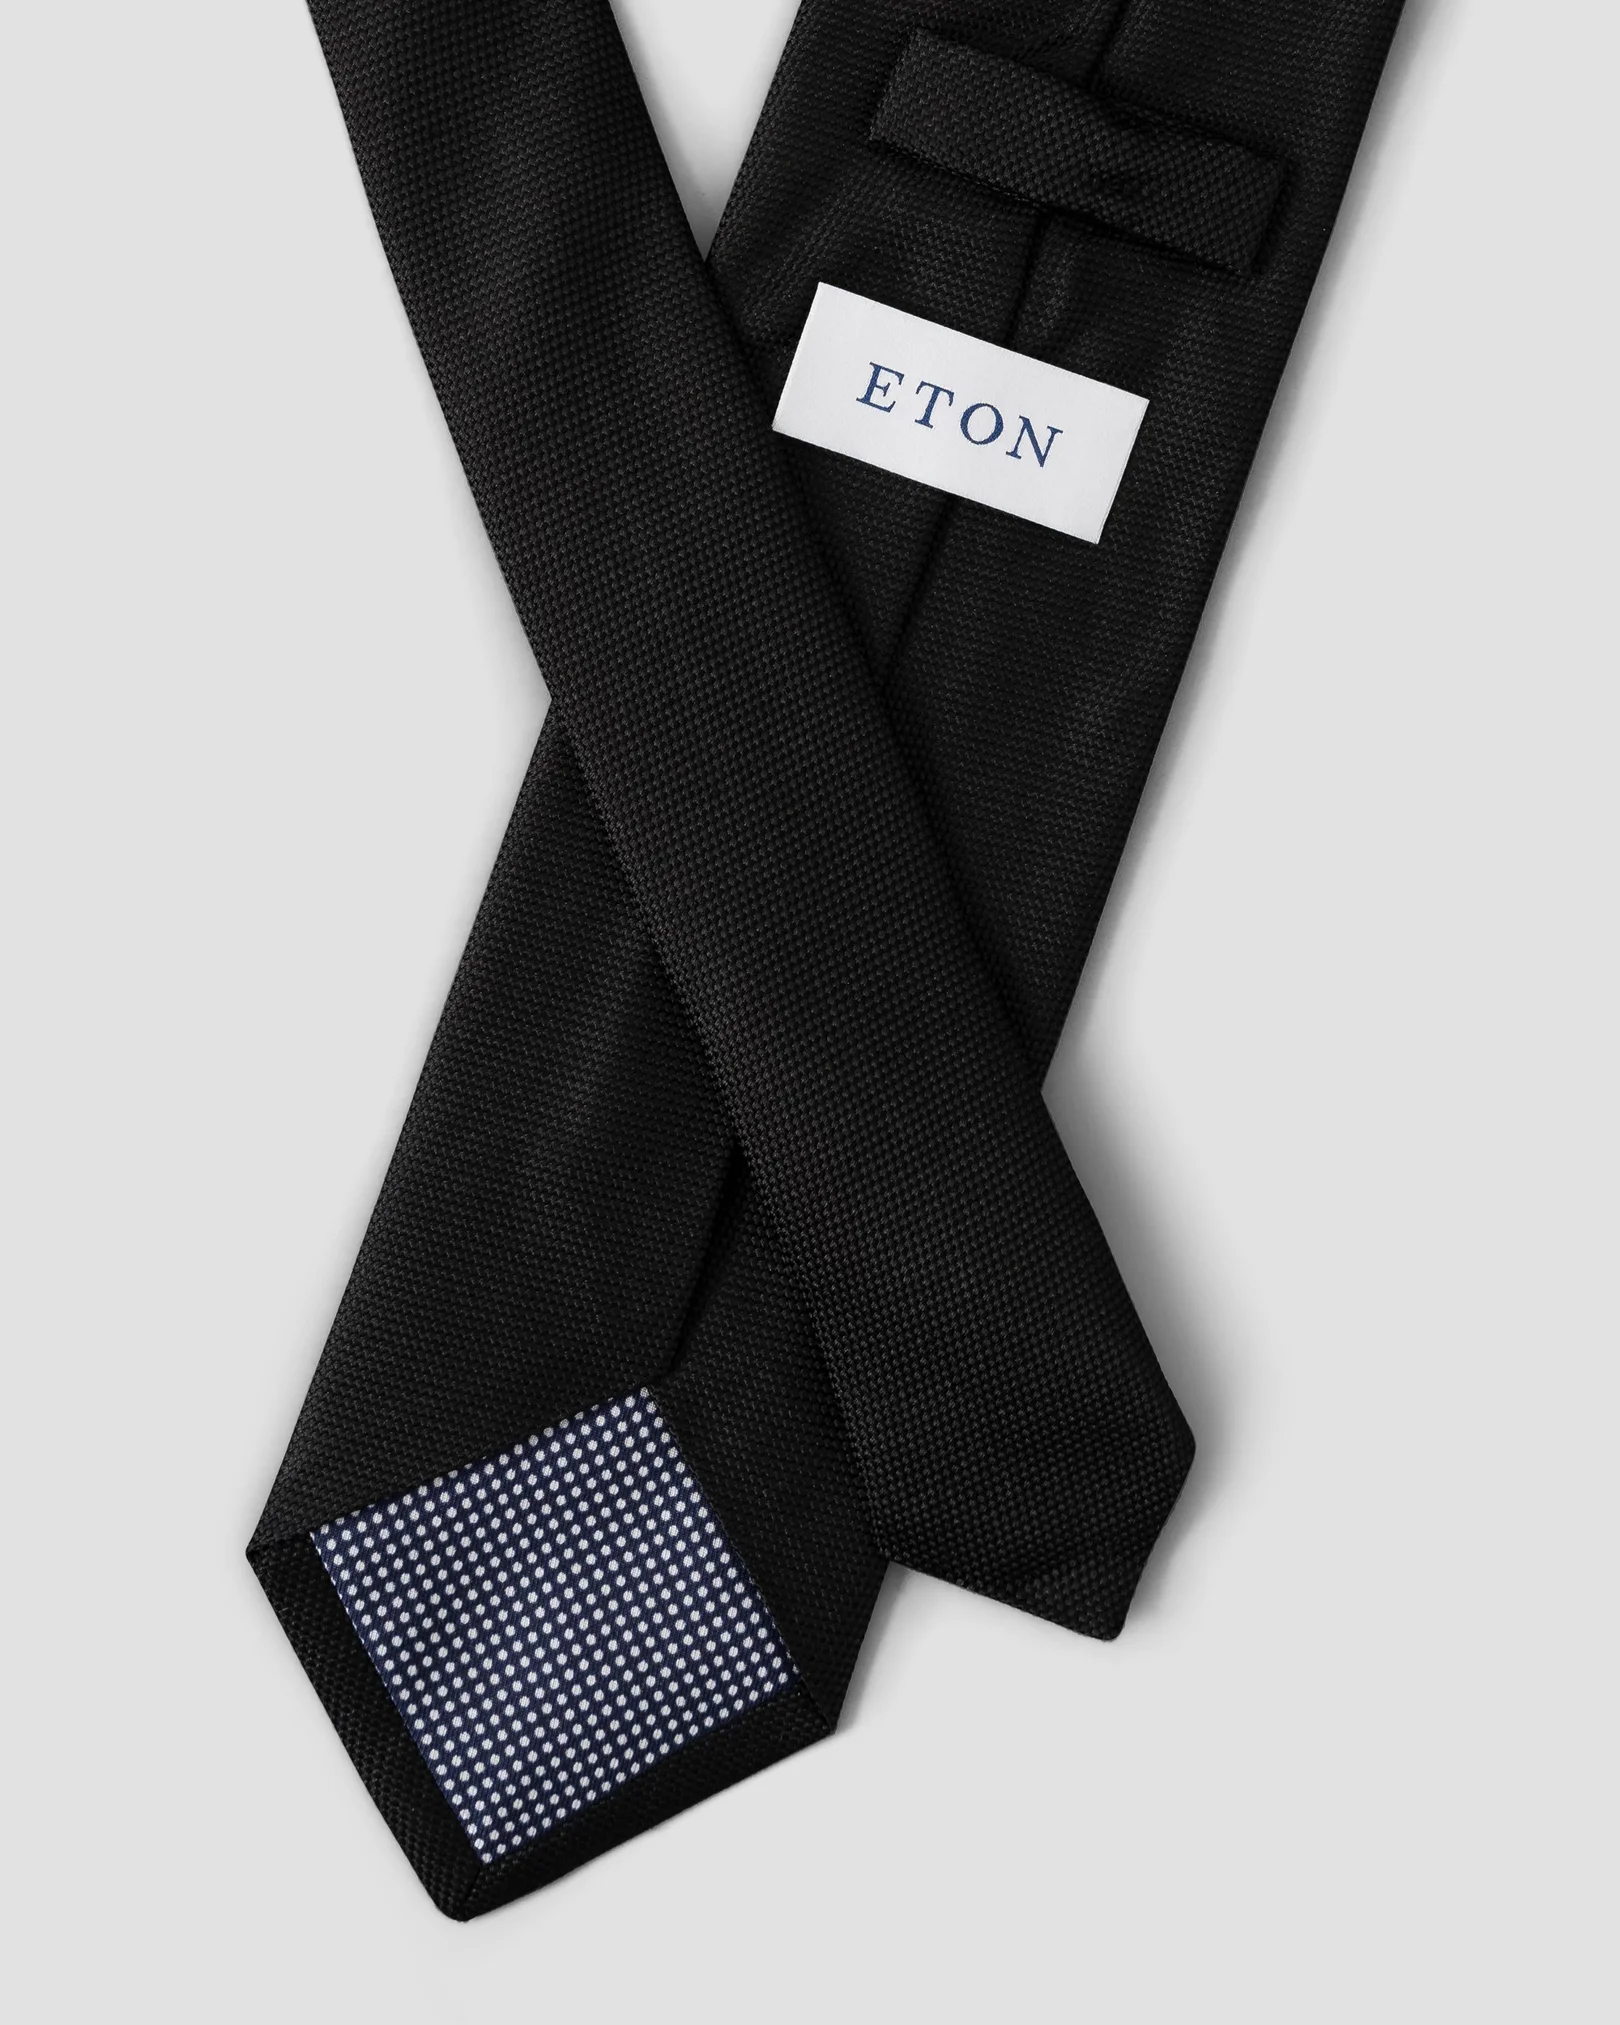
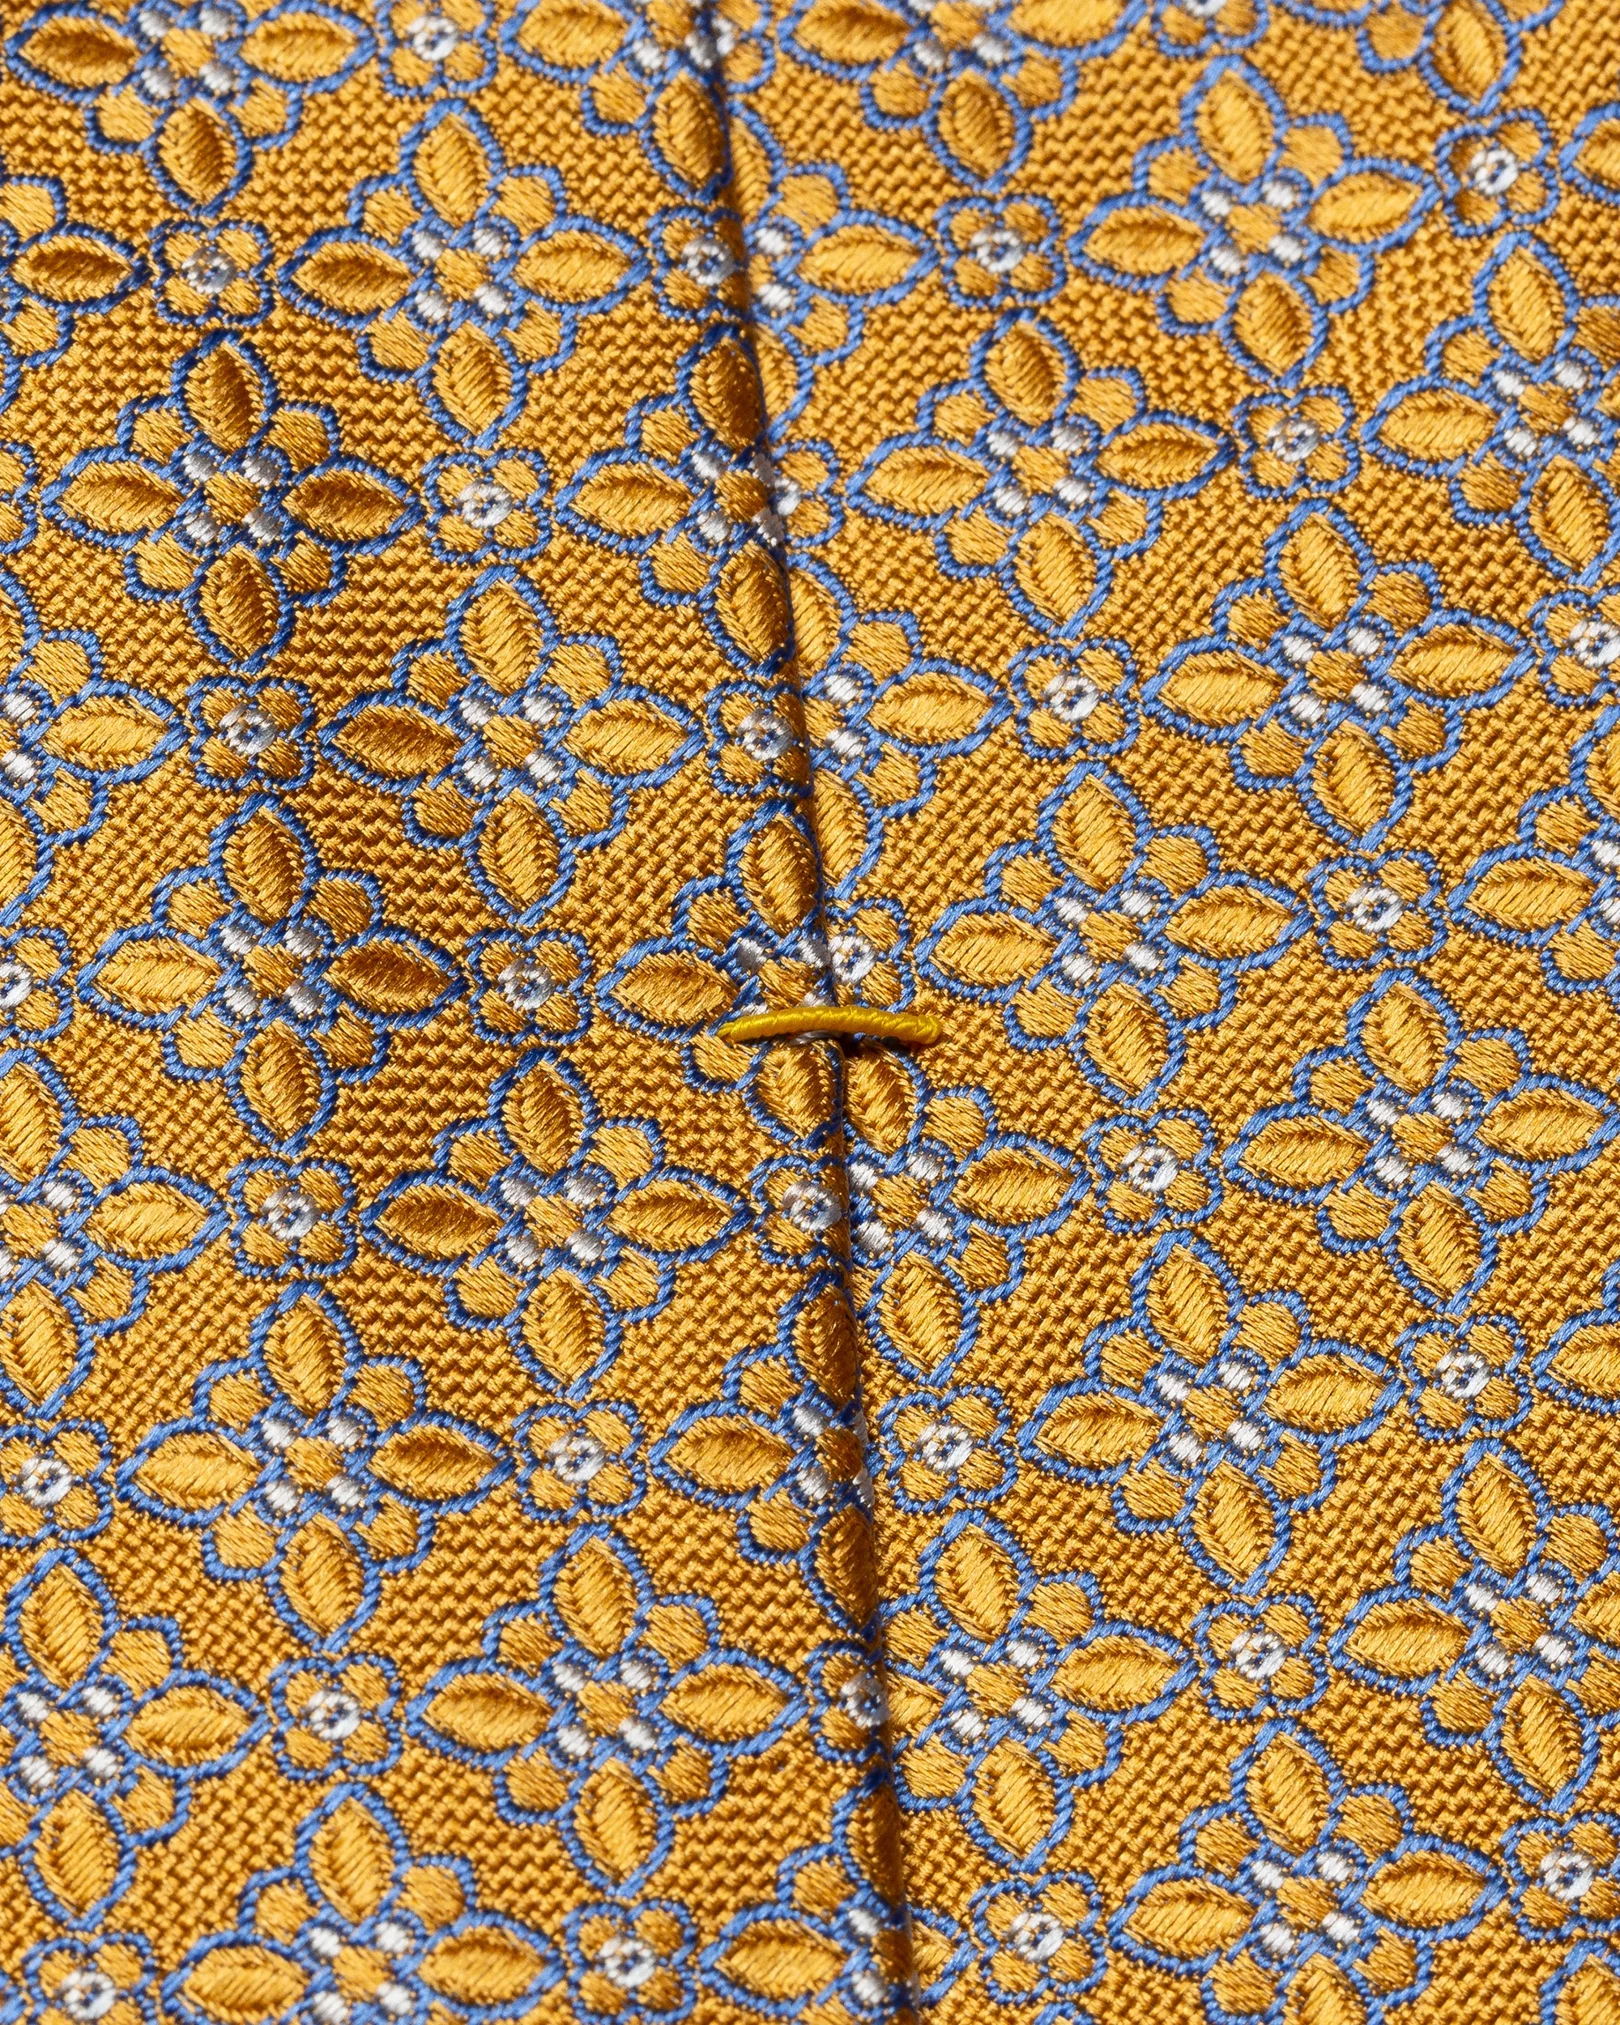
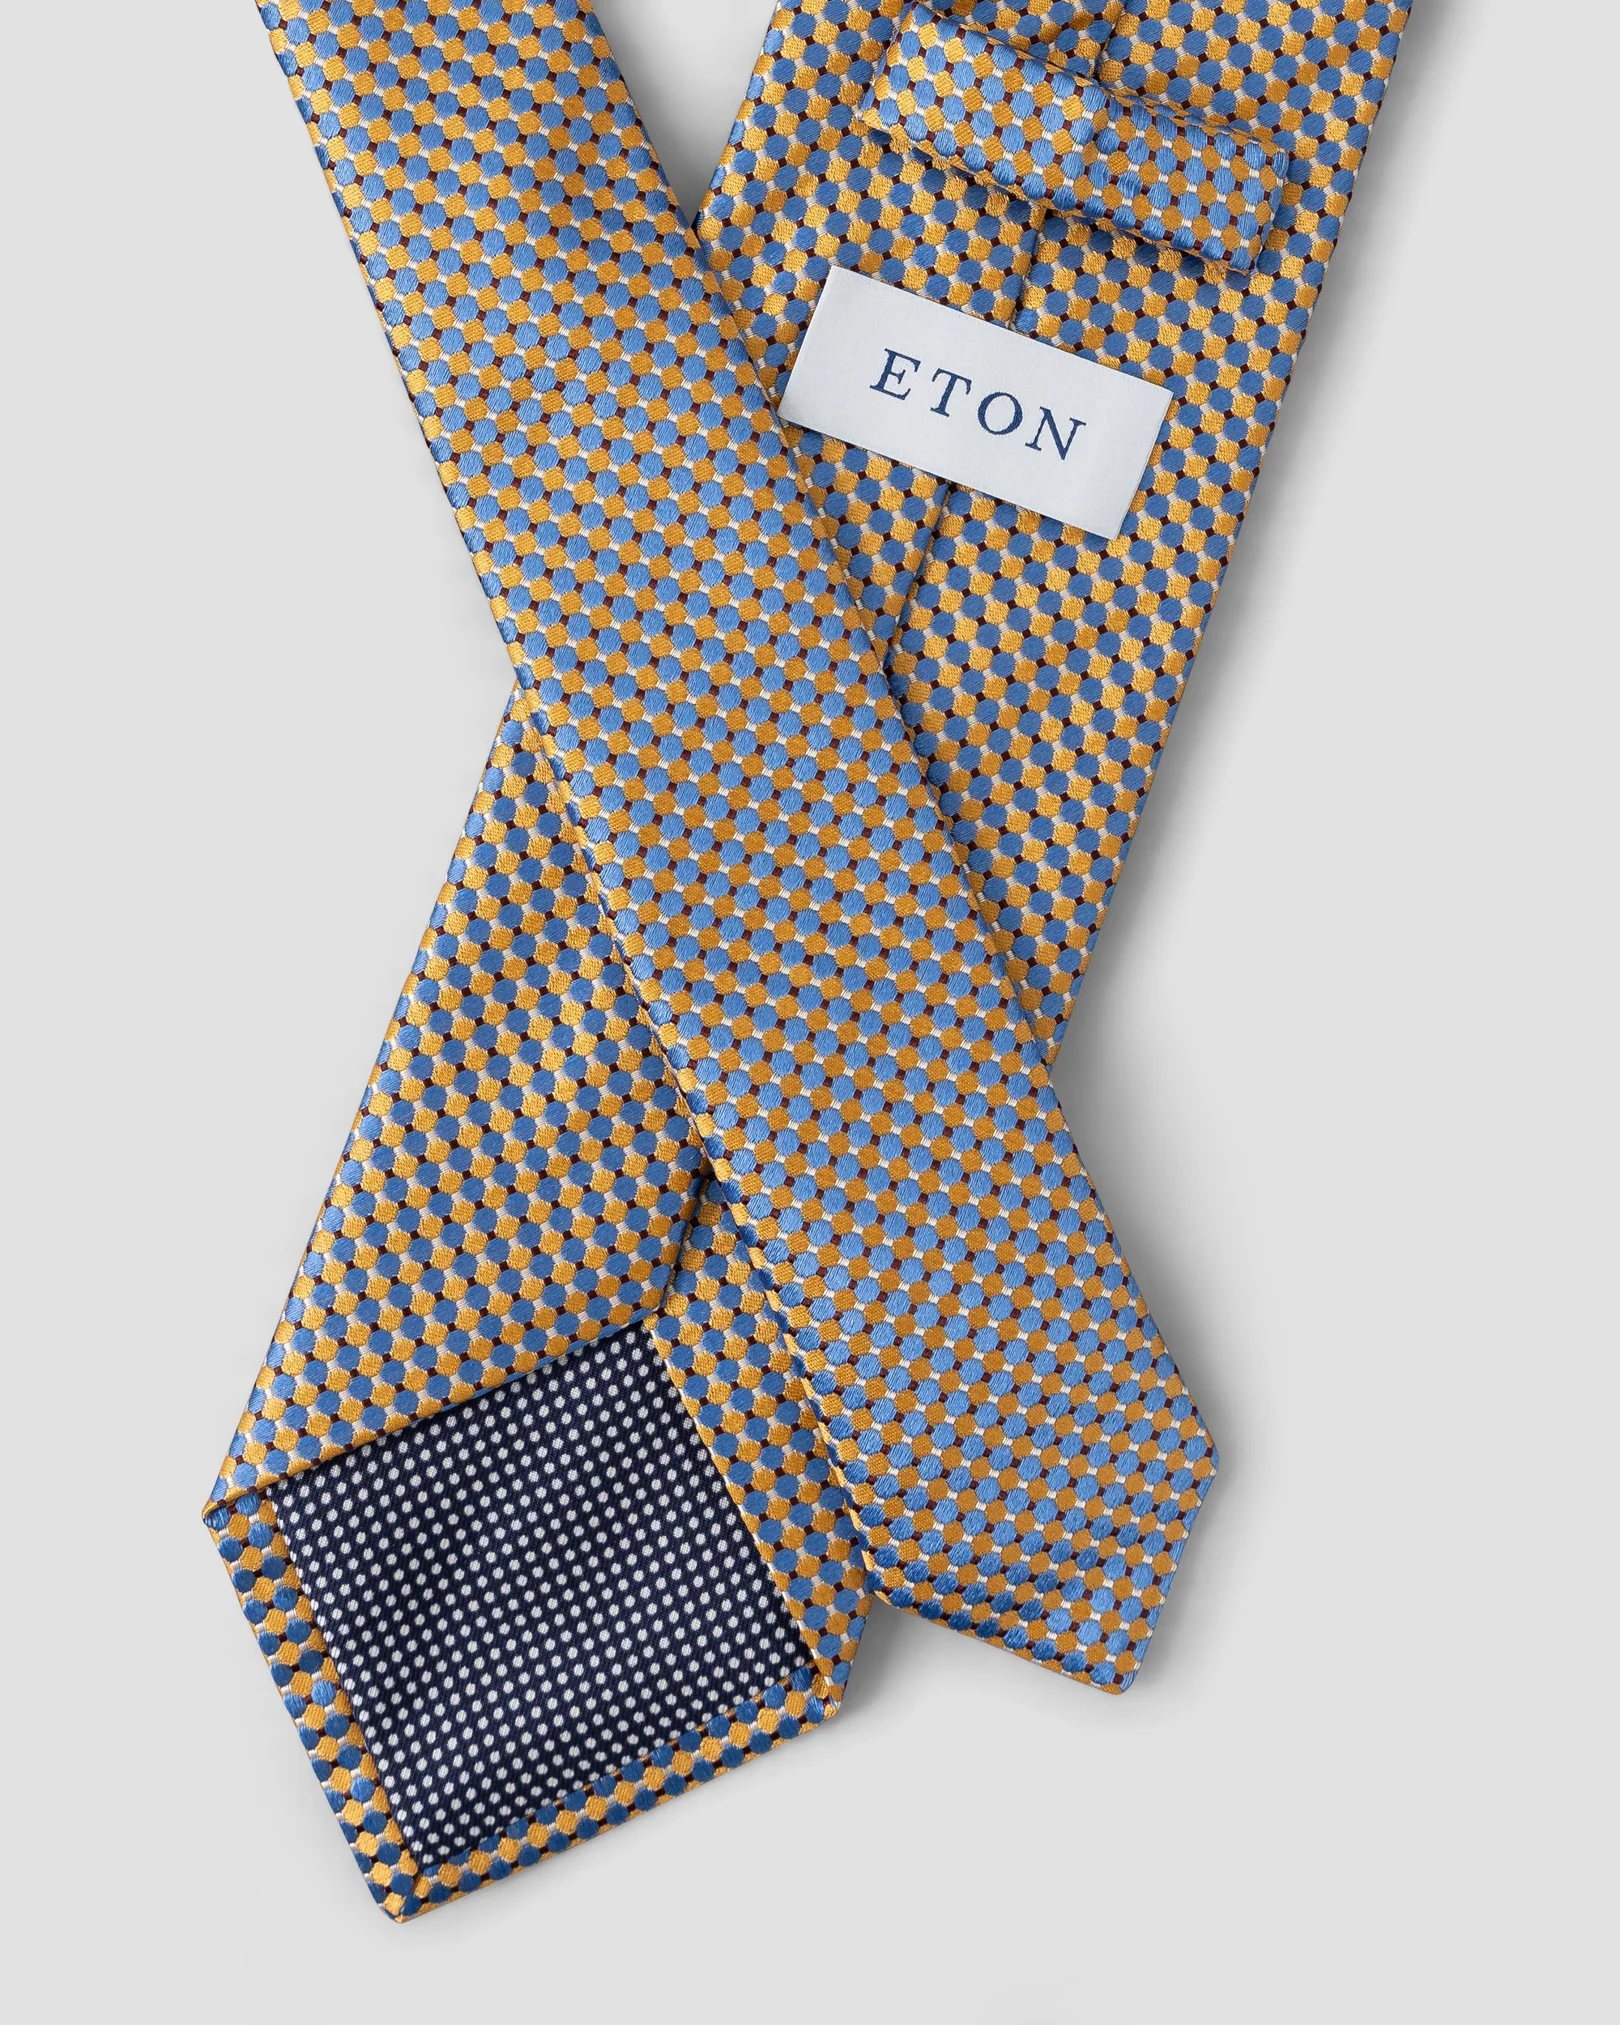
This knot works well with any tie, whether it's wide or slim, silk-weave, grenadine, or knitted. It's an understated, modern knot that suits any occasion, from weddings to funerals to job interviews. So if you want a simple and elegant look that's easy to achieve, the four-in-hand knot is the perfect choice.
Step by Step Instructions
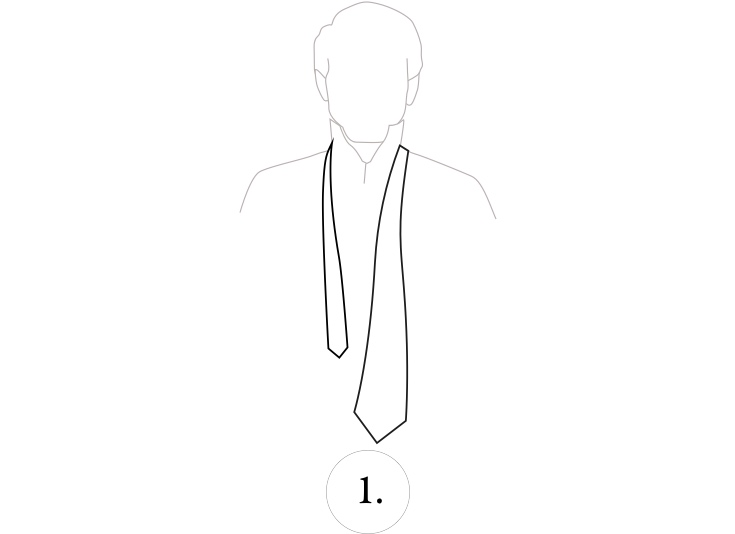 Step 1: Place the tie around your neck, with the wider side to your left — hanging a little lower (just above the bellybutton).
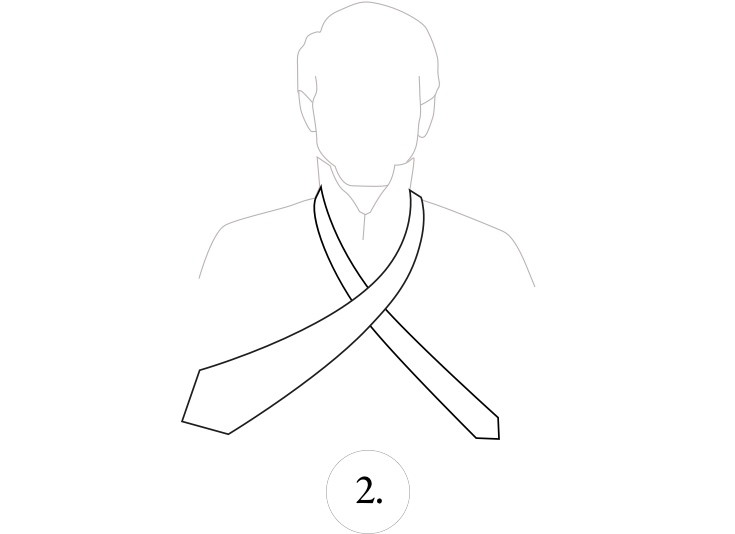 Step 2: → Pull the wide end over and to the right.
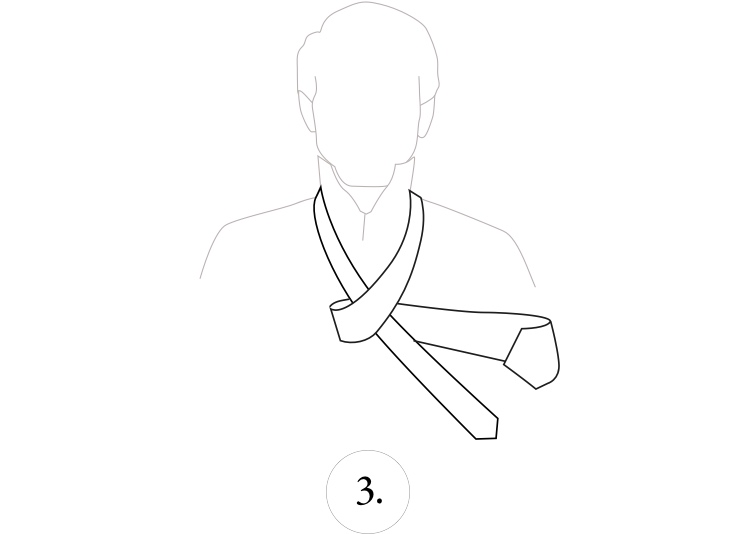 Step 3: Now under and to the left ← Then → back over the front to the right.
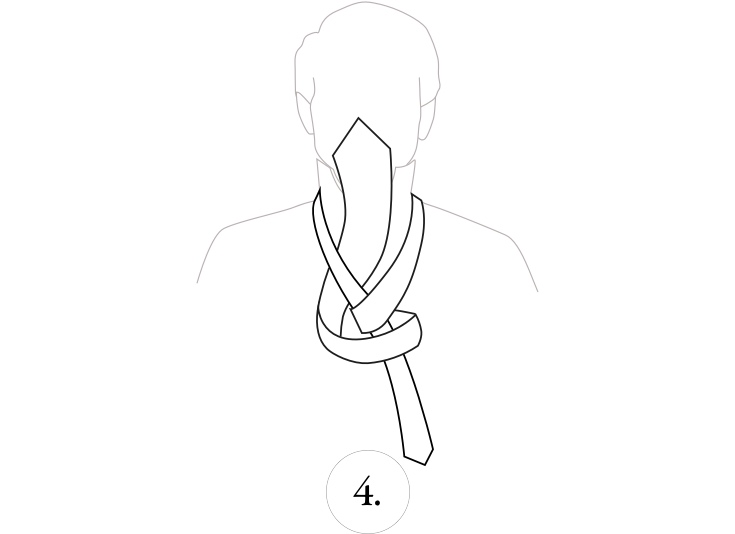 Step 4: From underneath, pull it up into the neck loop ↑
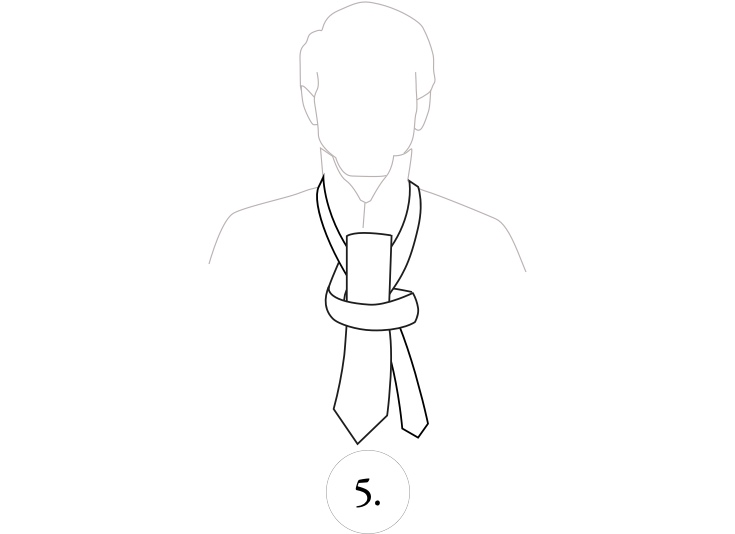 Step 5: Pull down through the loop in the front. ↓
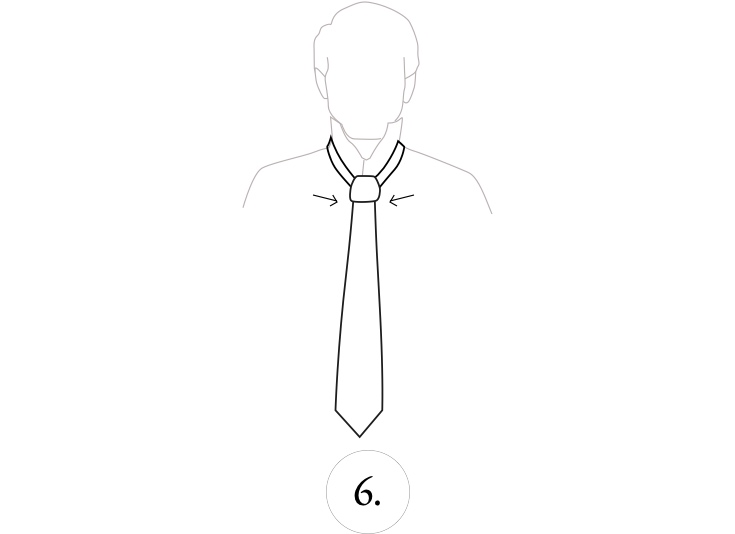 Step 6: Create a dimple — fold and squeeze the wide end just below the knot.
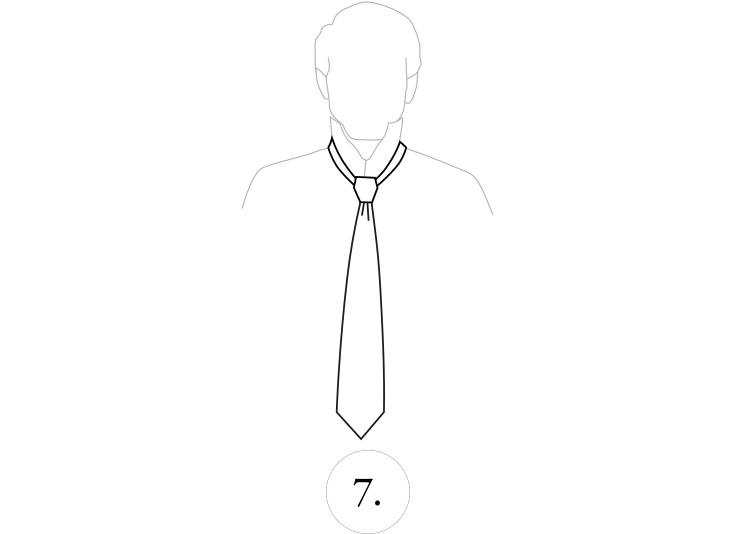 Step 7: Tighten and adjust — we favor a knot that is balanced to either the right or left, for an extra style statement.